The Ultimate Guide to Building on Polygon zkEVM
A software engineer turned developer relations engineer in the web3 space, from Australia 🇦🇺.
In this guide, I'll show you how to create a full-stack web3 application on the Polygon zkEVM. By the end of the guide, we'll cover how to:
Set up our wallet to connect to the Polygon zkEVM
Create and deploy a smart contract to the Polygon zkEVM
Build a React application to connect and interact with the smart contract
Let's get started!
What is the Polygon zkEVM?
If you're not already familiar, Polygon zkEVM is an EVM-compatible zero-knowledge rollup. This means it acts as a scaling solution to the Ethereum blockchain; improving its scalability by enabling more transactions per second and significantly cheaper gas fees.
As developers, an important component of the Polygon zkEVM is its EVM compatibility, which means we can use the same tooling we know and love such as Solidity to build smart contracts and deploy them to the network; something that was previously not possible with ZK rollups.
Now we've got the basics down, let's dive into the building.
Setting Up the Polygon zkEVM
The Polygon zkEVM uses a bridge to transfer ETH from Ethereum to the Polygon zkEVM rollup.
In this guide, we'll be using the testnet to demonstrate the process, however the process is the same on mainnet, except you are dealing with real funds; I'll provide you with resources for both testnet and mainnet options.
Before we begin the bridging process, you'll need a wallet setup with some test (or real) ETH loaded in. I won't cover these topics as I'm assuming you likely already have this setup. Just in case you don't, below are some resources to help you:
Bridge Funds to the Polygon zkEVM Network
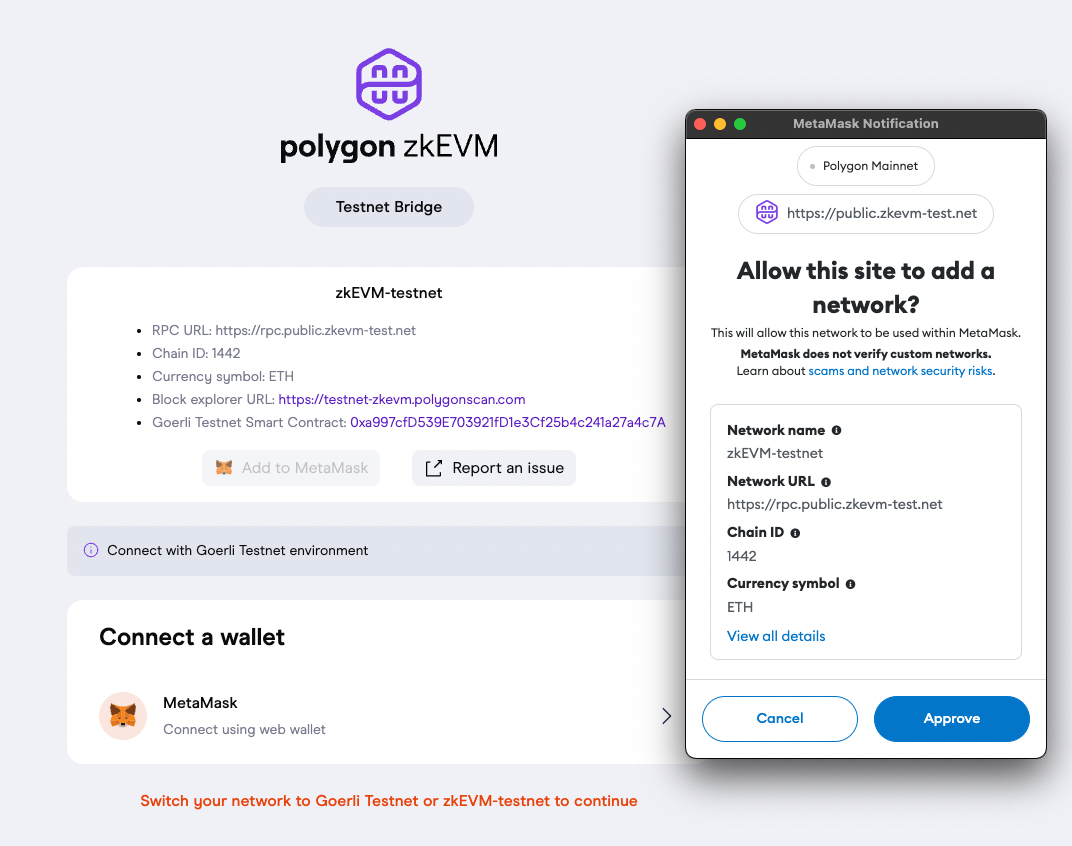
With a wallet setup and either real ETH or testnet ETH in it, you're ready to begin the bridging process. Head over to the bridge URL below to get started (pick either testnet or mainnet depending on which one you want):
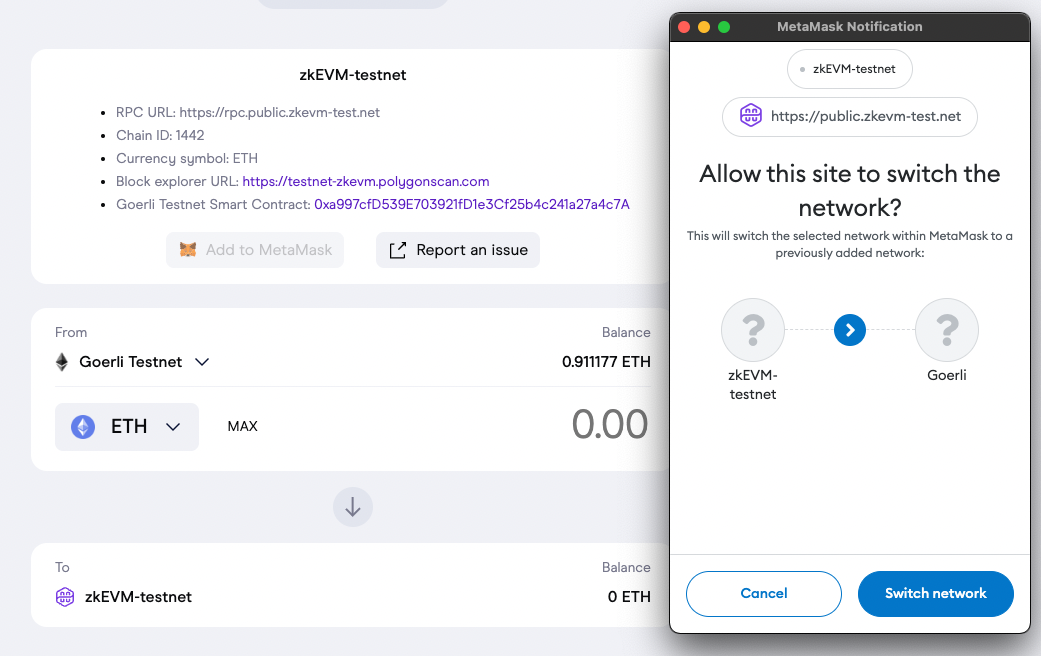
On the bridge, click the "Add to MetaMask" button to add the network information about the zkEVM to your wallet. Click "Approve" and "Switch Network" as the prompts appear.
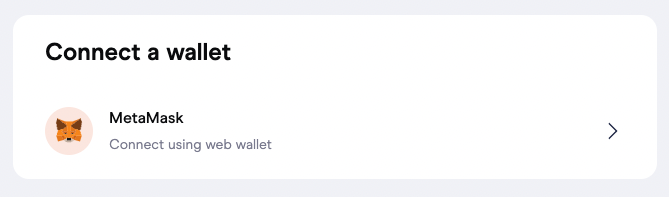
Next, connect your wallet to the bridge by clicking on the button below:
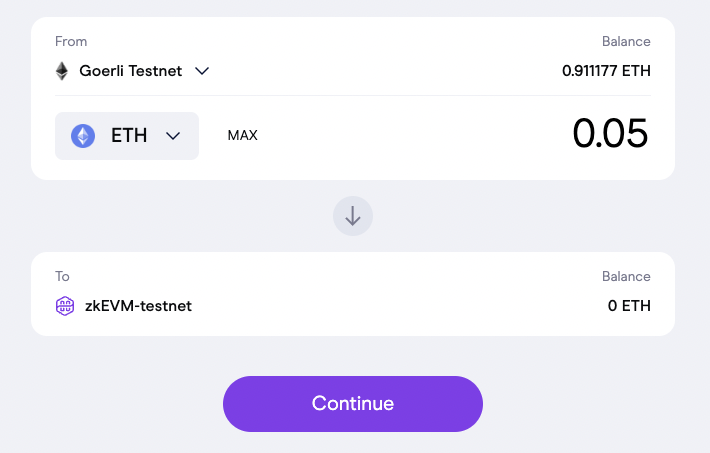
Select the Ethereum network as the "From" network; to specify you are bridging funds from Ethereum to the zkEVM.
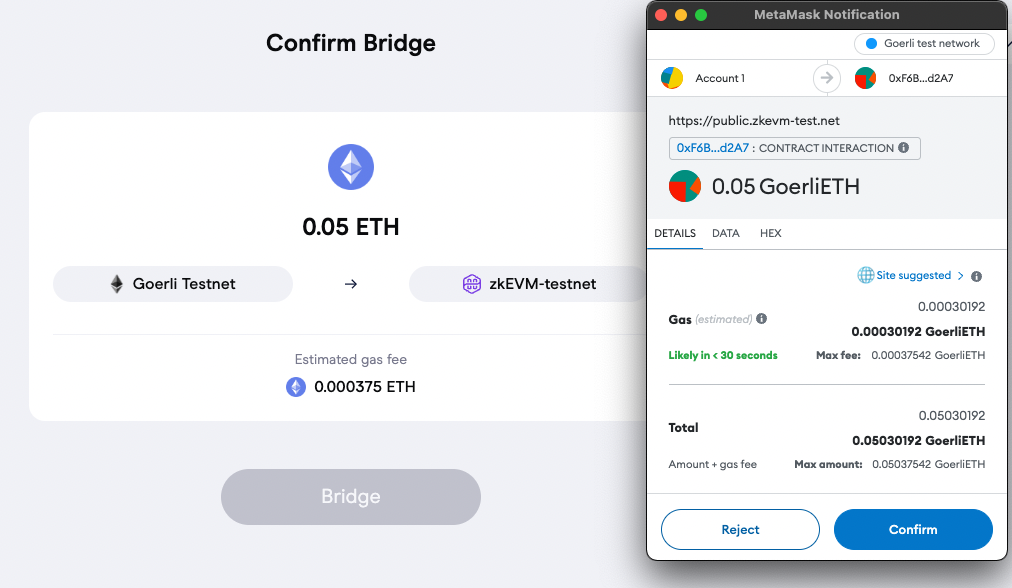
Enter the amount of ETH you want to bridge, e.g. 0.005 ETH, and click "Continue", and "Bridge" in the confirmation step.
Approve the transaction to initiate the bridging process.
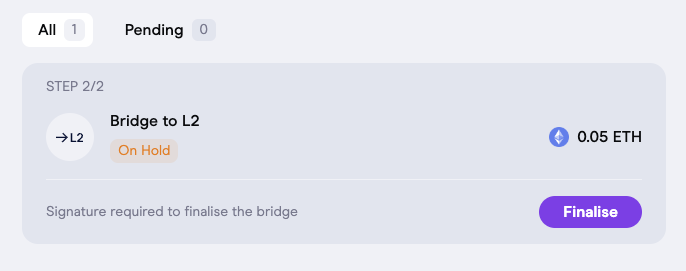
Finally, click "Finalise" and approve the transaction to complete the bridging process.
Once completed, you should see the funds available in your wallet:
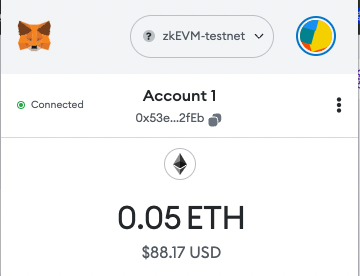
Nice! Now we've got some funds to use on the zkEVM. Remember you can send funds back to Ethereum through the bridge at any time; one of the awesome benefits of ZK rollups!
Creating a Smart Contract on Polygon zkEVM
Now we've got some funds setup, we're ready to start building! First, we're going to create a smart contract. In this guide, we'll build a simple ERC721 NFT smart contract; but you can create anything you like.
Creating the Hardhat project
We'll use Hardhat in this guide to keep it simple, but this process will also work for Foundry/Forge too.
To begin, let's create a new Solidity project by using the thirdweb CLI.
Run the following command in your terminal to get started:
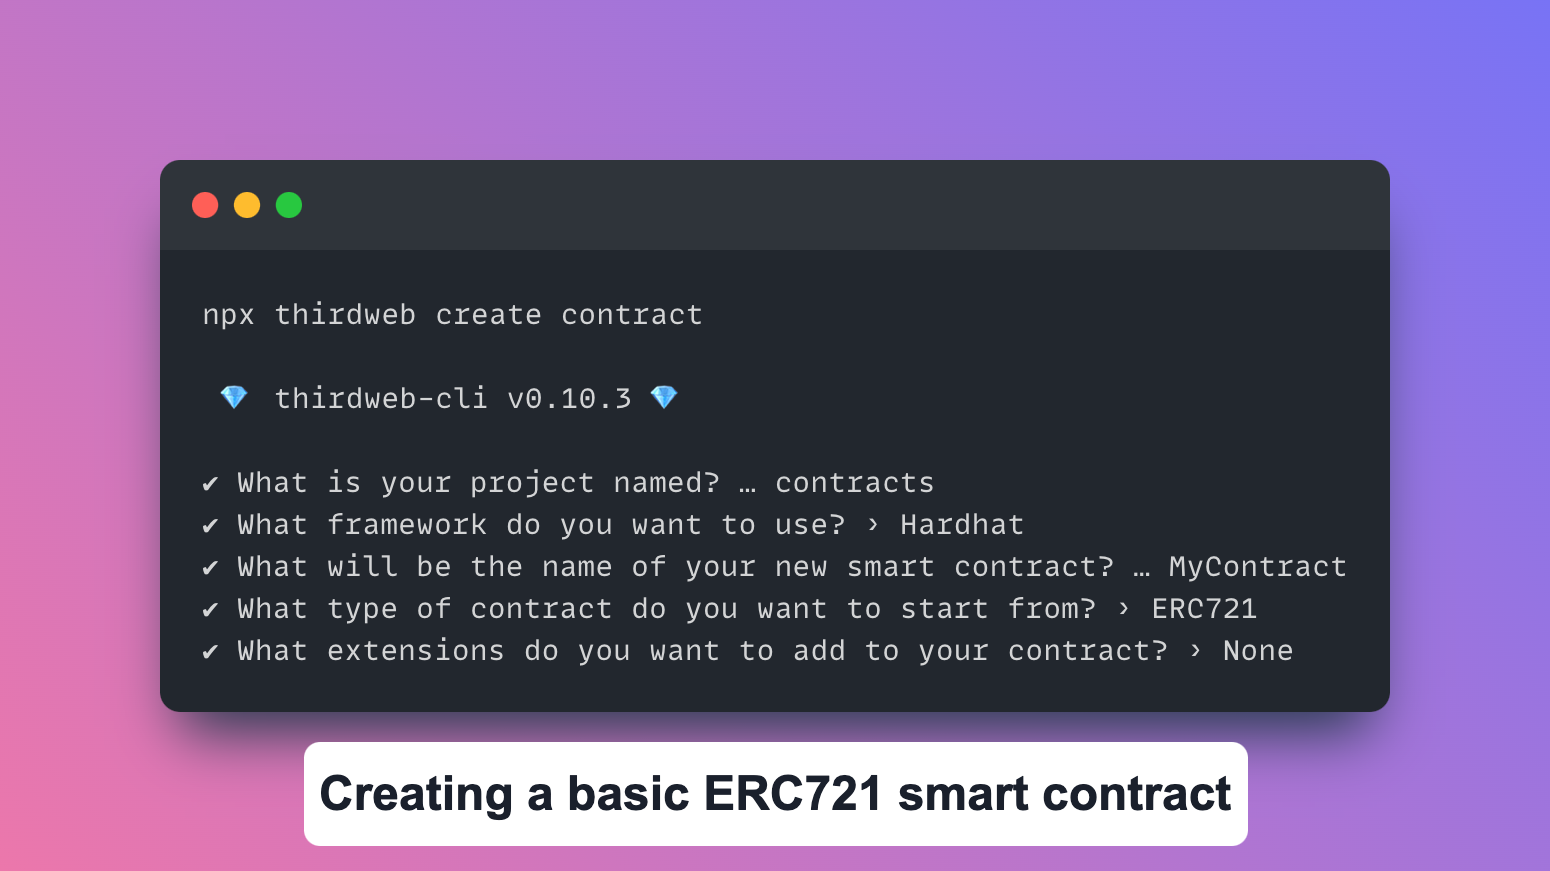
npx thirdweb create contract
This command kicks off an interactive set of questions to create your Solidity project with the framework and standards of your choice.
Below, I'm using Hardhat with a basic ERC721 NFT smart contract as a starting point:
Creating the NFT Collection smart contract
If we open this project in our text editor, we can see we have a barebones Hardhat project with a smart contract in the /contracts/MyContract.sol file, containing the following code:
// SPDX-License-Identifier: MIT
pragma solidity ^0.8.0;

import "@thirdweb-dev/contracts/base/ERC721Base.sol";

contract Contract is ERC721Base {
    constructor(
        string memory _name,
        string memory _symbol,
        address _royaltyRecipient,
        uint128 _royaltyBps
    ) ERC721Base(_name, _symbol, _royaltyRecipient, _royaltyBps) {}
}
This is using thirdweb's ERC721 base contract which provides code for us to implement all the features of the ERC721 NFT standard, along with the ERC721A optimization to the standard.
Feel free to customize, override, or add any features you want to; or of course, build a completely different smart contract!
Deploying a Smart Contract to Polygon zkEVM
Now you've created the smart contract, you're ready to ship it to the zkEVM. To do this, we'll use thirdweb deploy.
Run the following command (from the same directory as your smart contract) to begin the deployment flow:
npx thirdweb deploy
This command completes all the steps required to prepare our contract:
Compiles the smart contract using Hardhat
Uploads the smart contract ABI to IPFS.
Opens the thirdweb dashboard to deploy from your connected wallet.
No private key, RPC URLs, or config required!

Once this process is complete, open the URL that gets printed at the end of the command to be taken to the thirdweb dashboard.
Populate the Contract's Constructor Parameters
Connect your wallet to the dashboard, and provide values for any of your smart contract's constructor parameters. If you're following along with the NFT collection contract, the parameters are outlined below:
Name: the name of your smart contract
Symbol: Ticker symbol for each token in the contract, e.g. ETH or BAYC
Royalty Recipient: Wallet address that receives funds from royalty fees
Royalty Bps: What percentage royalty fee to take, e.g. 500 = 5%

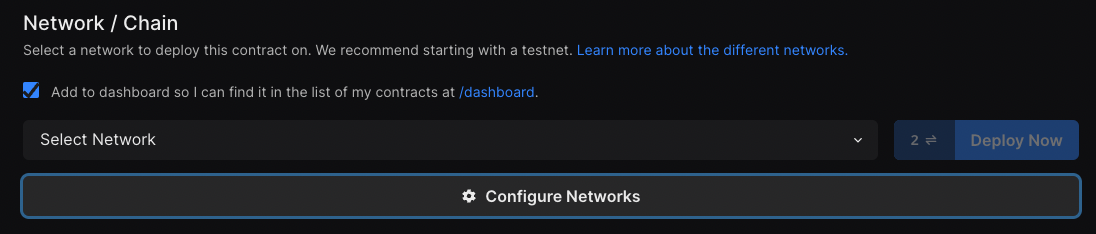
Select the Polygon zkEVM Network
To specify that we want to deploy to the Polygon zkEVM, click "Configure Networks":
Search for "Polygon zkEVM", and you'll see options for both the Polygon zkEVM Testnet and Polygon zkEVM Mainnet:
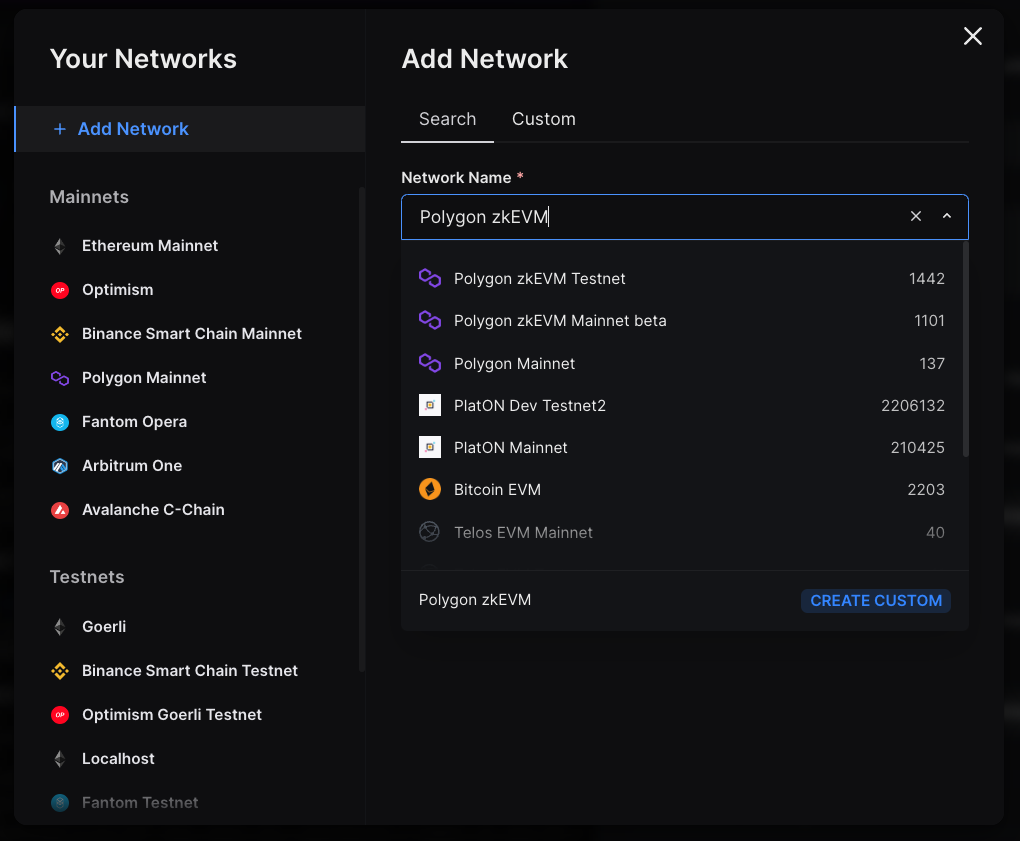
Select the network and click "Add Network" to add the zkEVM as a deployment option. Close the modal and head back to the deploy page, and click "Deploy Now":

Finally, approve the "Contract Deployment" transaction.
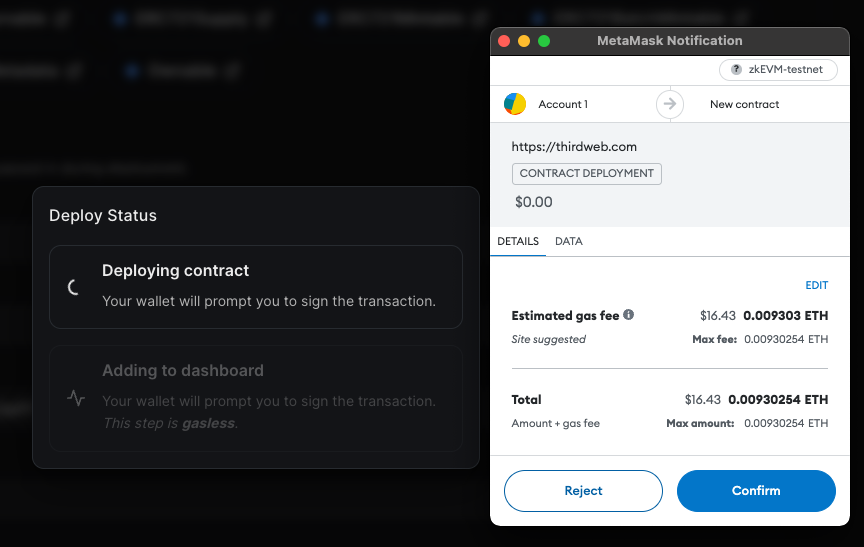
Nice! You just deployed a smart contract to the zkEVM! 🥳 Feel free to explore the dashboard, where you can view and execute all the functionality of your smart contract from the UI.
Creating A Web3 App on Polygon zkEVM
Now we've shipped our smart contract, let's create an application that can connect to users' wallets, and have them interact with our smart contract.
To do that, we'll again use the thirdweb CLI to create a frontend application with the thirdweb React SDK installed.
Run the following command in your terminal to get started:
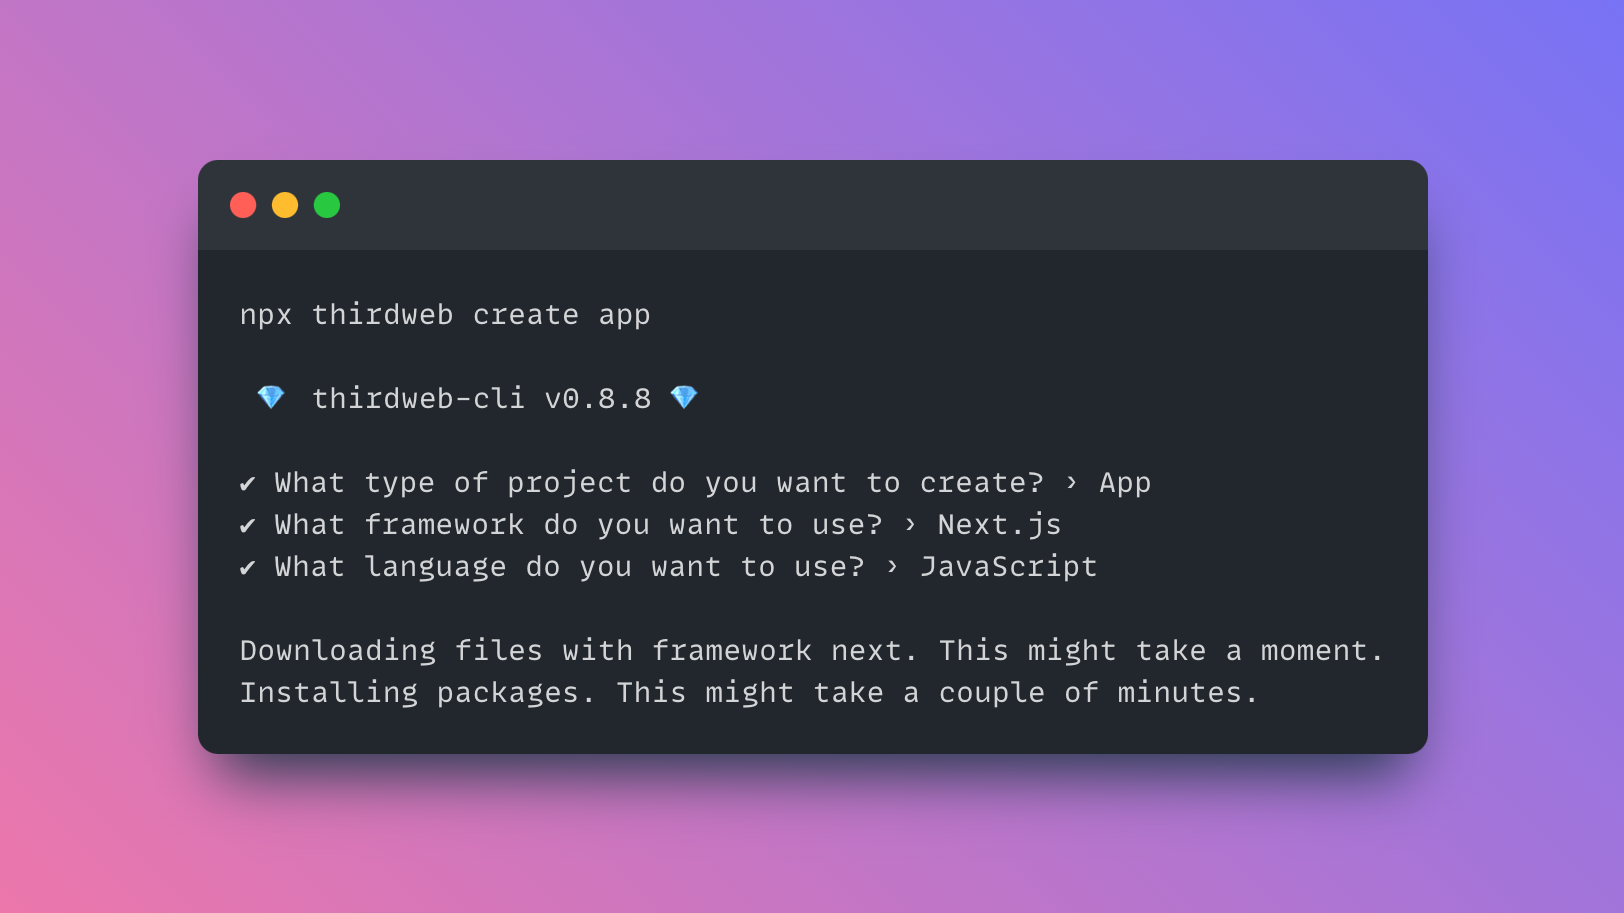
npx thirdweb create app
This will ask you a series of questions about the framework and languages you want to use to create your front-end application. In this guide, we'll use Next.js and JavaScript; but feel free to use what you're comfortable with!
Open up the newly created application in your text editor.
Connect the App to Polygon zkEVM
The first thing we'll need to do is configure the ThirdwebProvider to use the Polygon zkEVM network. We'll use the @thirdweb-dev/chains package to manage this connection for us.
From within your application, run the following command:
npm install @thirdweb-dev/chains@nightly
This package has over 700 chains for us to use and connect to, including the Polygon zkEVM testnet and mainnet.
Next, within the _app.js file, (or Index.js file for CRA/vite), import the PolygonZkevmTestnet from the chains package and set it as the activeChain prop:
import { ThirdwebProvider } from "@thirdweb-dev/react";
// Import the Polygon zkeVM chain and set it as the activeChain
// PolygonZkevmTestnet = testnet
// PolygonZkevmBeta = mainnet
import { PolygonZkevmTestnet, PolygonZkevmBeta } from "@thirdweb-dev/chains";
import "../styles/globals.css";

function MyApp({ Component, pageProps }) {
  return (
    <ThirdwebProvider activeChain={PolygonZkevmTestnet}>
      <Component {...pageProps} />
    </ThirdwebProvider>
  );
}

export default MyApp;
This manages our connection to the blockchain with a free RPC URL out of the box.
Connect to the Smart Contract
Head to the home page at index.js (or App.js) and connect to the smart contract you deployed using its contract address via the useContract hook.
Hint: you can get the contract address from the thirdweb dashboard.
Here's how our code looks so far:
import { useContract } from "@thirdweb-dev/react";

// Place your smart contract address here!
const contractAddress = "0x66CC8aB6a3bFD1e1510d4ED2115b26E2f13fdcfC";

export default function Home() {
  // Connect to your smart contract with the useContract hook
  const { contract } = useContract(contractAddress);

  return <div>Hello world!</div>;
}
To add the capability to connect to users' wallets, we could use the ConnectWallet UI component, but we're going to use the Web3Button UI Component instead, to allow the contract admin to mint an NFT after they've connected.
Mint An NFT Using the React SDK
The Web3Button connects to the user's wallets, switches them to the correct network (polygon zkeVM), and then calls some functionality on our smart contract when clicked.
First, import the button component from the @thirdweb-dev/react package, then provide the contractAddress and action props. The action is what occurs when the button is clicked; i.e. where we're going to mint our NFT.
import { useContract, Web3Button } from "@thirdweb-dev/react";

const contractAddress = "0x66CC8aB6a3bFD1e1510d4ED2115b26E2f13fdcfC";

export default function Home() {
  const { contract } = useContract(contractAddress);

  return (
    <Web3Button
      contractAddress={contractAddress}
      action={async (contract) => {
        return await contract.erc721.mint({
          name: "My zkEVM NFT",
          description: "I just minted an NFT on the Polygon zkEVM!",
          image: "your-image-url-here",
        });
      }}
    >
      Mint NFT
    </Web3Button>
  );
}
Here, we provide the metadata of the NFT we want to mint and use the mint function to upload and pin the metadata to IPFS before minting the NFT into the smart contract.
Run your application on your localhost to see the result, using npm run dev and visiting http://localhost:3000/. Click the button and accept the transaction to mint your first NFT!

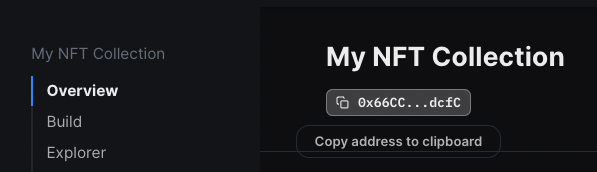
On your contract dashboard, you can now see an NFT has been minted into the smart contract with the metadata you provided:

Awesome 🔥 we now have our very own NFT collection minted onto the polygon zkEVM network.
Displaying NFTs in the App
Finally, we can use the thirdweb React SDK to read information from our smart contract too. In this example, we'll use the useNFT hook to read the metadata of the NFT we just minted, and the NFT Renderer component to display it on the UI.
import { ThirdwebNftMedia, useContract, useNFT } from "@thirdweb-dev/react";

const contractAddress = "0x66CC8aB6a3bFD1e1510d4ED2115b26E2f13fdcfC";

export default function Home() {
  const { contract } = useContract(contractAddress);
  const { data: nft, isLoading } = useNFT(contract);

  return isLoading ? (
    <p>Loading...</p>
  ) : (
    <div>
      <ThirdwebNftMedia metadata={nft.metadata} />
      <h2>{nft.metadata.name}</h2>
      <p>{nft.metadata.description}</p>
    </div>
  );
}
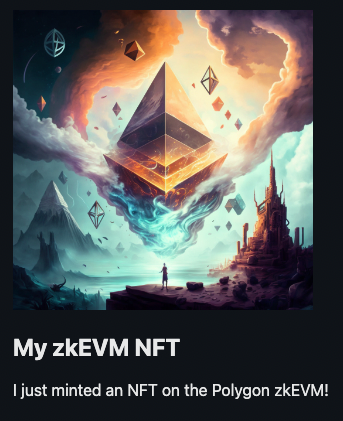
Using a ternary operator, we now display a loading state while the metadata loads from IPFS, and show the metadata of the NFT on the UI once it's loaded:
Wrapping Up
That's it! We've covered everything you need to know when it comes to creating a full-stack application built on top of Polygon's new zkEVM; from setting up the network in your wallet to creating an app that allows users to connect their wallets and mint NFTs.