Build Your Own Layer 2 Blockchain (using Polygon CDK)
A software engineer turned developer relations engineer in the web3 space, from Australia 🇦🇺.
In this guide, I'll show you how you can create and operate your very own blockchain. More specifically, we'll walk through the process of creating a "ZK Validium". A layer 2 chain that utilizes zero-knowledge proofs to guarantee and verify the validity of batches of transactions.
If you're unfamiliar with ZK proofs or Validiums, I have also written blogs previously that will help you understand these topics in more depth, linked below:
By the end of this guide, you'll be operating your very own chain, including a faucet, block explorer, RPC, bridge, and more; powered by Polygon CDK.
As a bonus, I'll also showcase the process of deploying a smart contract to the chain, and finally, creating an application to interact with your smart contracts.
Let's do this!
What is Polygon CDK?
Polygon Chain Development Kit (CDK) enables you to build your own ZK-powered Layer 2 blockchain that is custom-fitted to your needs. It provides a way for you to easily create and operate your own "app chain" (application-specific chain).
The fastest way to do this is by using an implementation provider; a platform that provides interfaces built on top of the CDK to help you configure and deploy a chain. In this guide, we'll use an IP called Presto to easily ship our own chain.
Polygon CDK is already powering a number of companies by providing the infrastructure to launch ZK-powered L2s; including Canto, Immutable, Palm, Astar, and more.
As part of the Polygon 2.0 vision, the chains launched via the CDK will be connected via the interop layer, tapping into the existing ecosystems and liquidity available of all the other CDK-powered chains, including Polygon PoS and Polygon zkEVM.

Deploying The Rollup
In this guide, we'll use Presto, a RaaS (rollup-as-a-service) platform utilizing Polygon CDK under the hood to deploy our chain with infrastructure deployed to AWS.
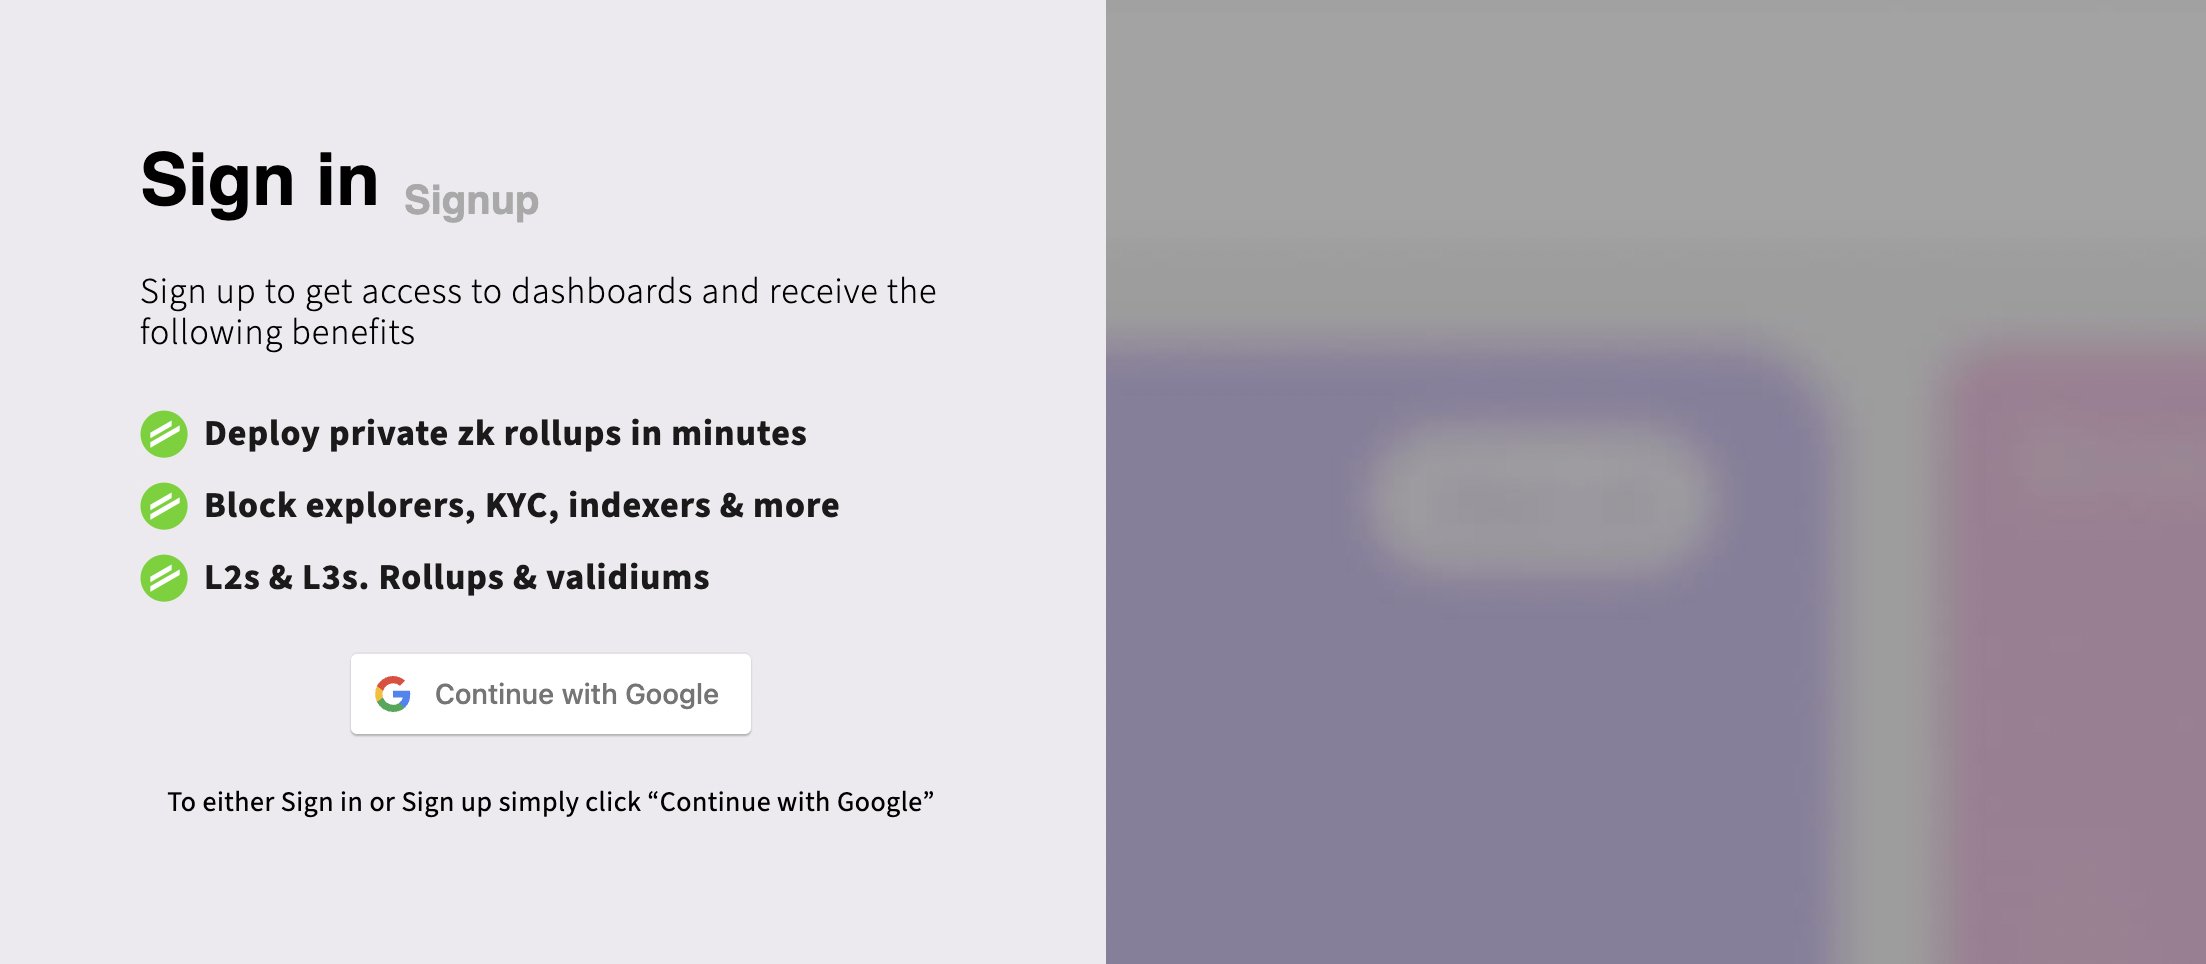
To get started, head to Presto and sign up.
Once onboarded, Presto will take you to the dashboard page, where you can click "Add new" to kickstart the process of configuring and deploying your chain.
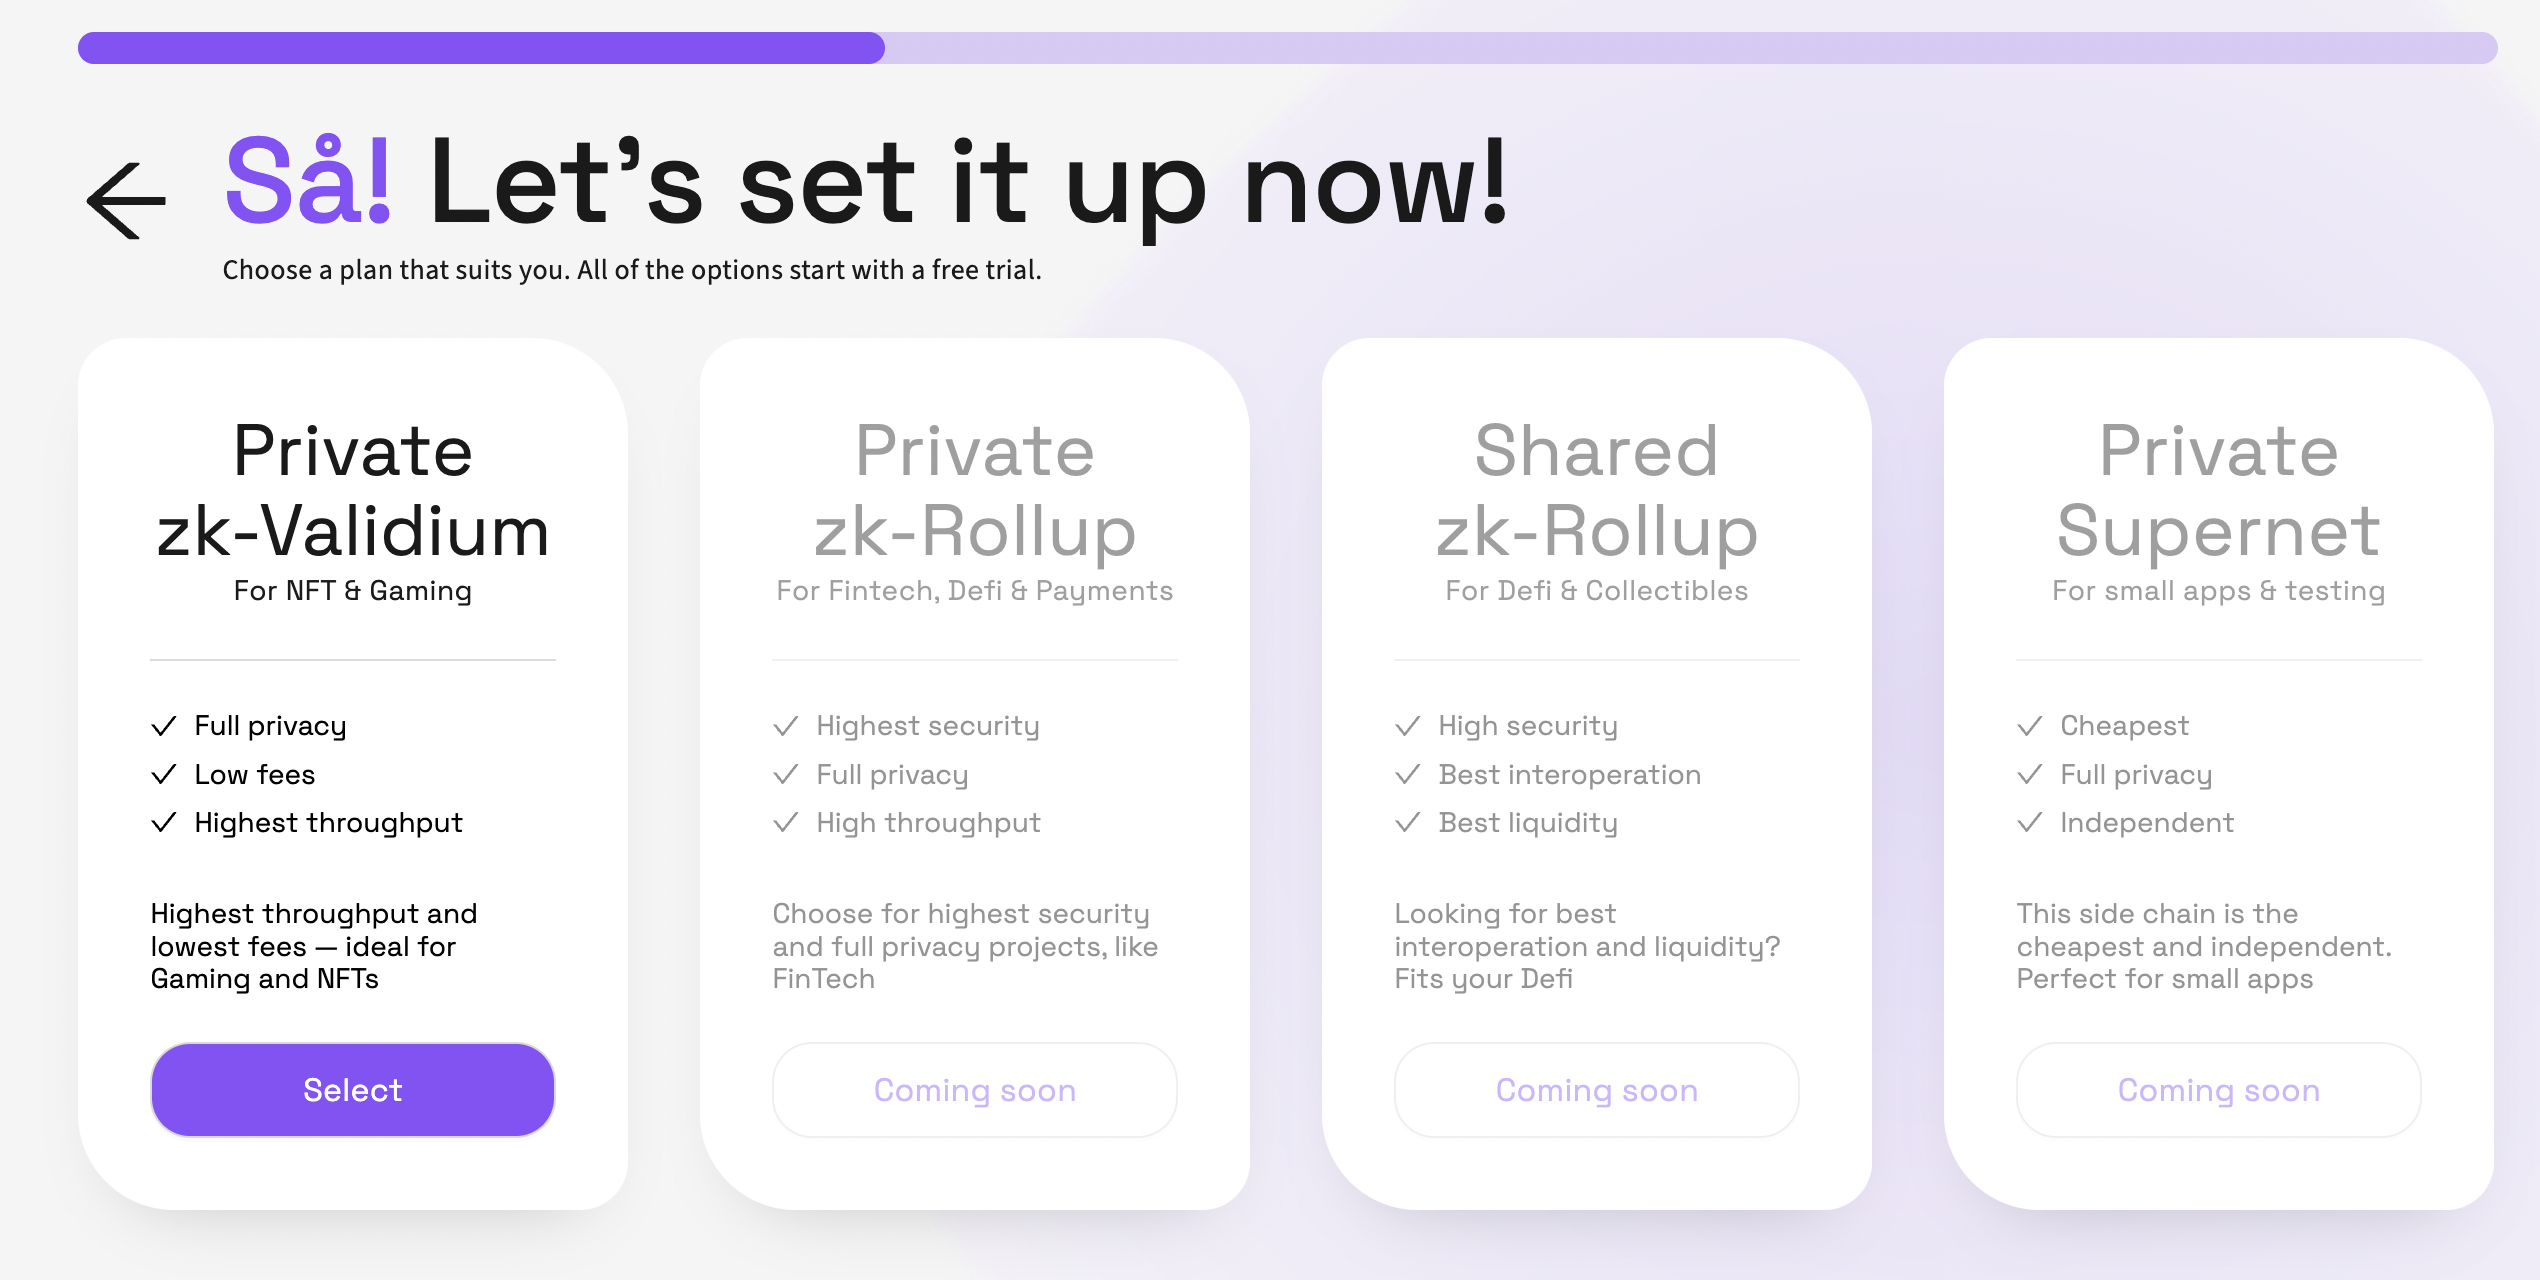
At the time of writing, the only available option is to deploy the ZK-Validium. However, CDK will soon support zkEVM rollups too! For now, let's select "Private zk-Validium":
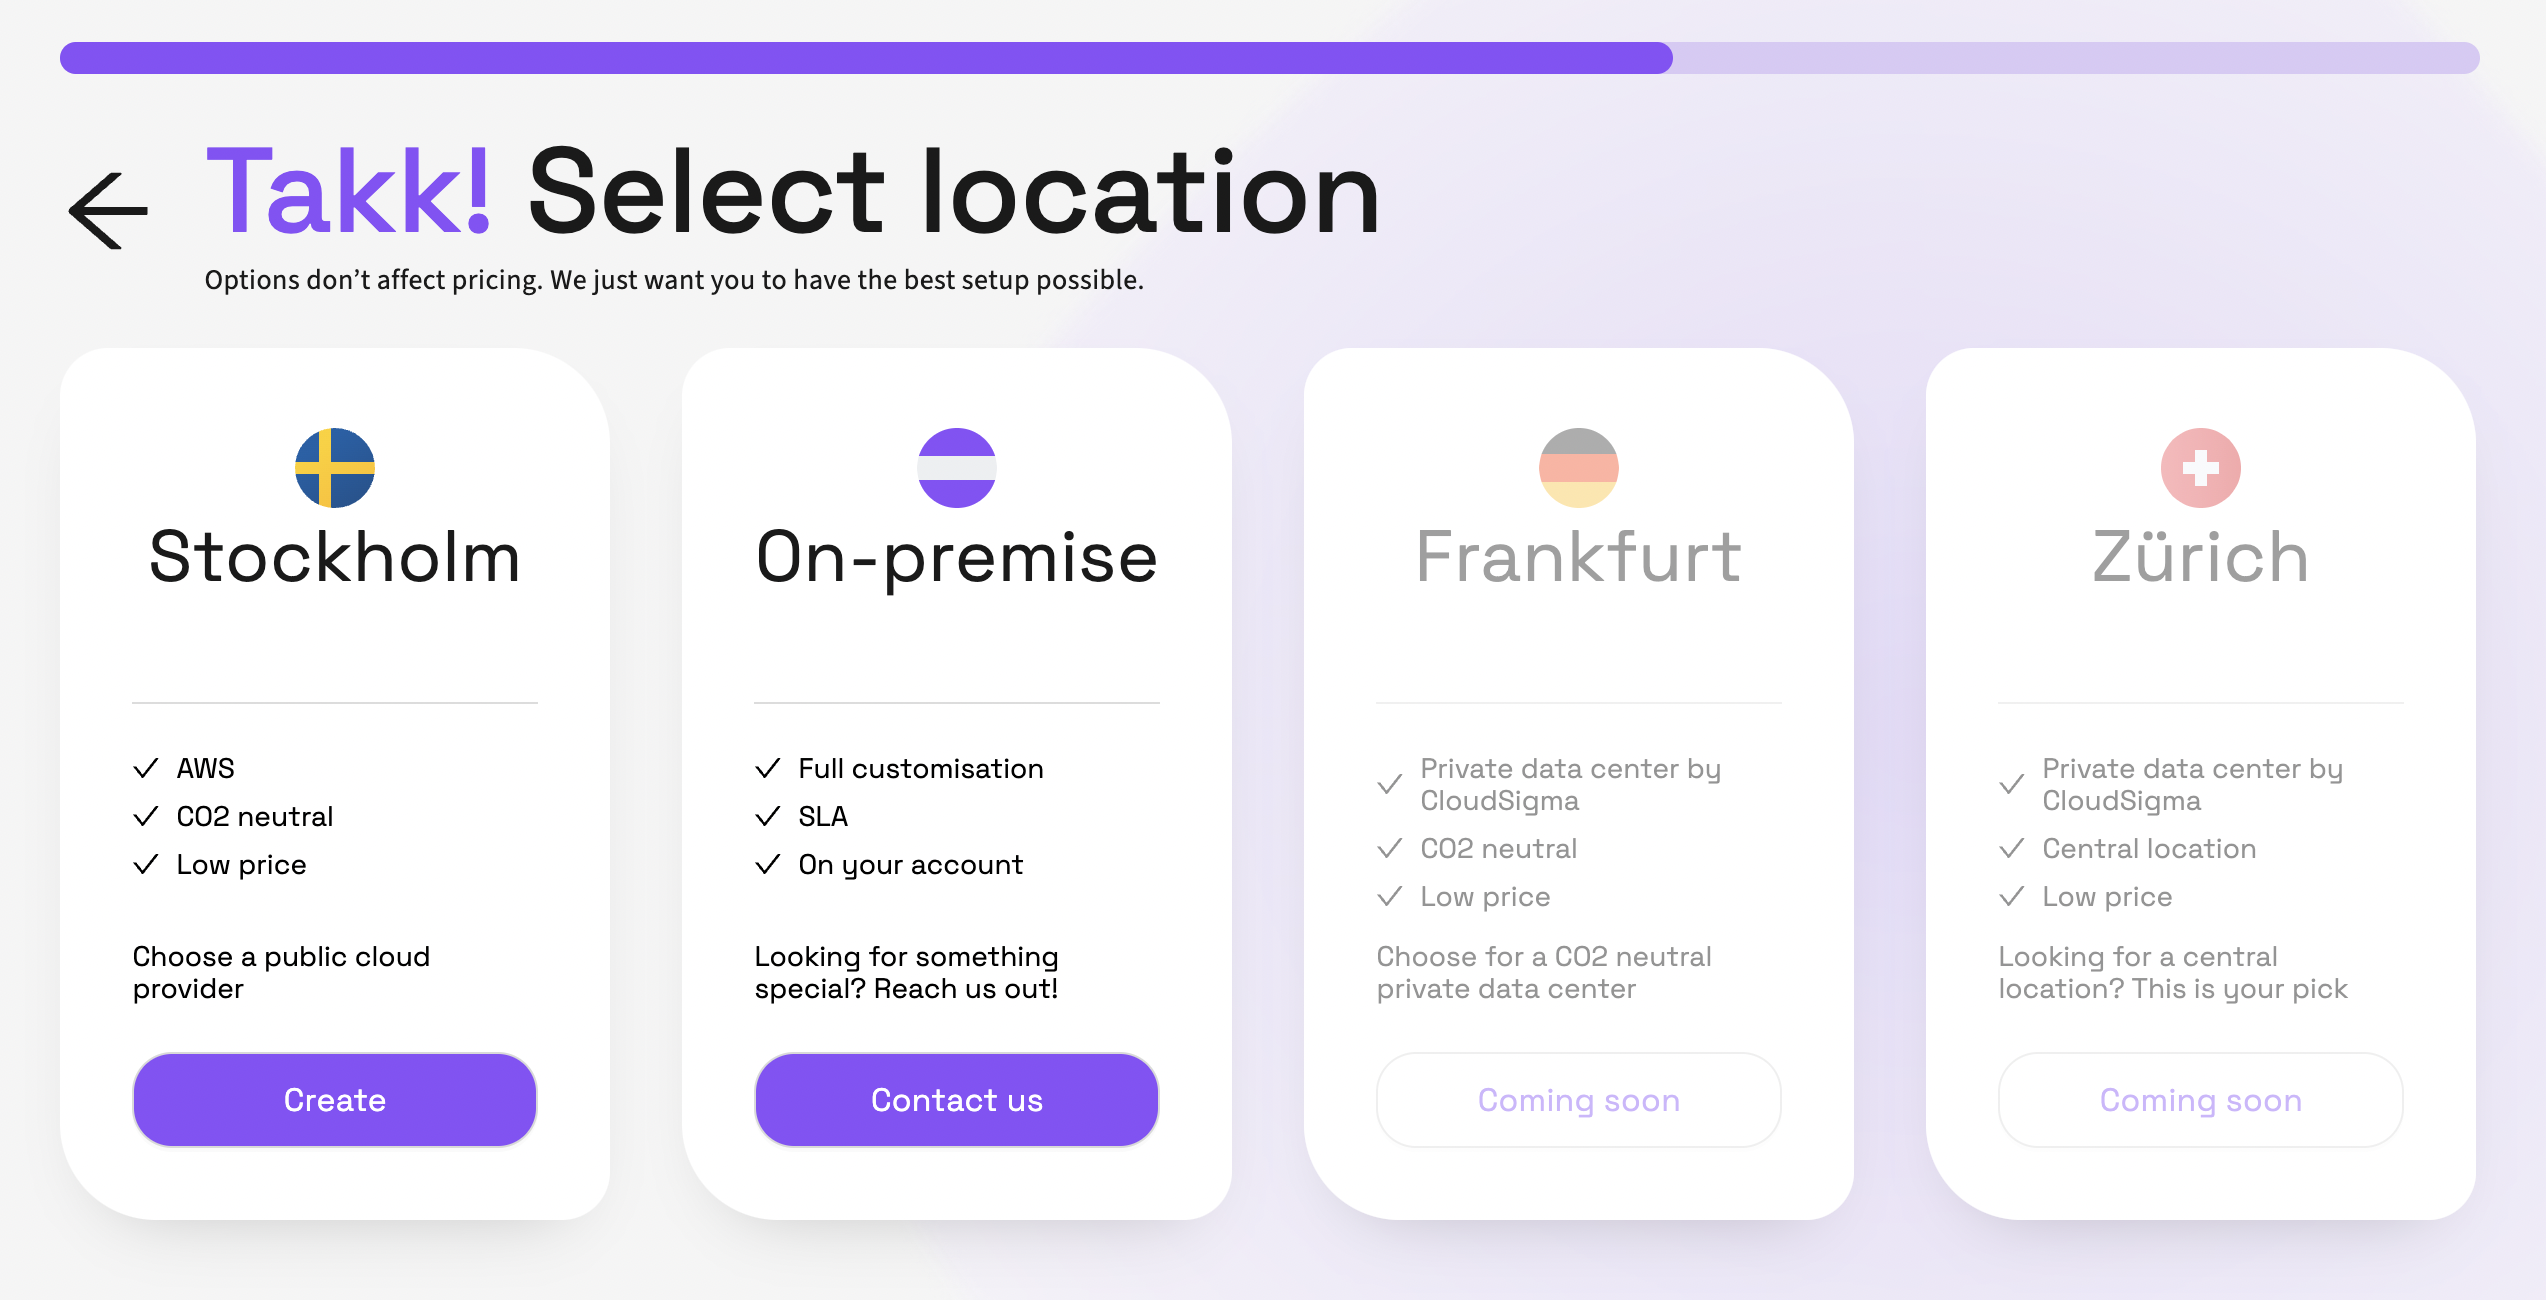
Next, we need to decide how/where we want to deploy the infrastructure (such as the nodes, prover, aggregator, sequencer, etc.).
In this guide, we'll use the pre-configured option, "Stockholm", which handles all of the deployment steps for us and runs on AWS.
The deployment process can take up to a few hours to fully complete; in the background, all of the infrastructure and compute resources are being deployed to AWS.
RPC, Bridge, Block Explorer, Faucet, and More
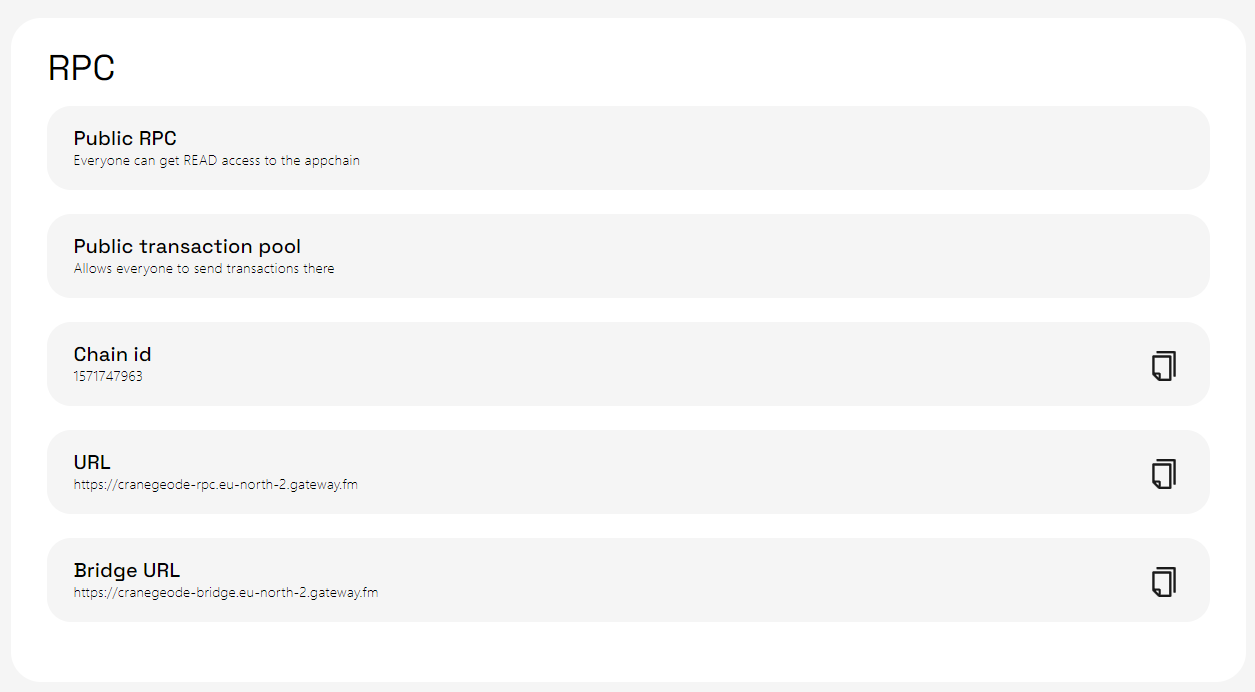
All of the developer tooling required to utilize your rollup is also deployed for you! The RPC, chain ID, bridge, block explorer, and even a faucet are all deployed for you out of the box; making it super simple to get started developing on it.
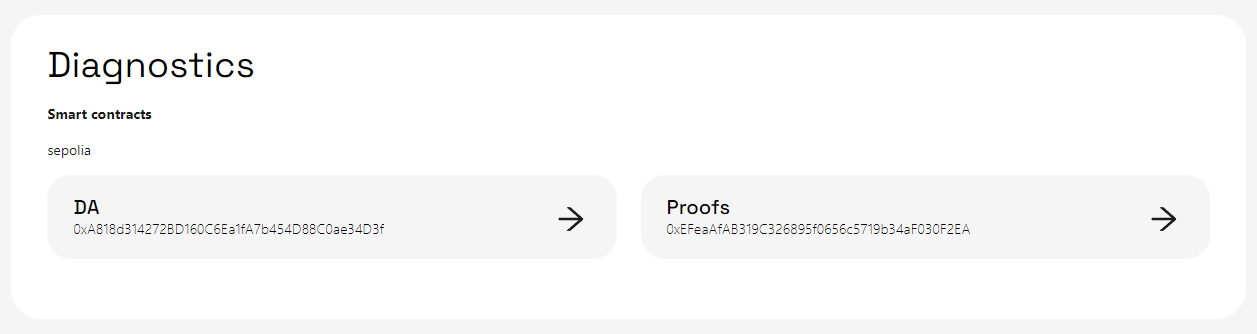
You can also view the smart contracts that get deployed for data availability (DA), and the rollup smart contract where batches of transactions are sequenced and verified on Ethereum (layer 1).
That's it for the deployment step!
Now, let's deploy our first smart contract to our newly created validium.
Deploy a Smart Contract to Your Custom Chain
A big benefit of the CDK is that it allows you to create chains that are EVM-compatible; meaning you can use all of the methods you're already familiar with to develop your smart contracts, such as Hardhat, Solidity, MetaMask, etc.
The Presto dashboard provides you with the chain ID and RPC URL that you can connect your wallet with and deploy smart contracts to. If you've ever deployed to Polygon before, you're likely already equipped with the skills to deploy to your rollup.
In this guide, I'll show you my favourite way to deploy Solidity smart contracts, using thirdweb from a Hardhat project.
Create a New Solidity Project
First, let's create a new Solidity project by running the following command from the terminal:
npx thirdweb@latest create contract
This command allows you to configure and instantiate a new project with your preferences of tooling, such as Forge or Hardhat and sets us up with a simple smart contract to deploy. Below are the options I selected for the project:

Inside the project, you'll find a Contract.sol file that you can modify. For this guide, I've written a simple Greeter smart contract with the following contents:
// SPDX-License-Identifier: MIT
pragma solidity ^0.8.11;

contract Greeter {
    string private greeting;

    constructor(string memory _greeting) {
        greeting = _greeting;
    }

    function greet() public view returns (string memory) {
        return greeting;
    }

    function setGreeting(string memory _greeting) public {
        greeting = _greeting;
    }
}
Deploy the Smart Contract
Let's go ahead and deploy this smart contract to the validium we just created. To do that, let's run the command below from the directory of our smart contract:
npx thirdweb@latest deploy
This will first prompt you to link your device to your thirdweb account, and then open a URL for you to configure the constructor parameters of your smart contract:
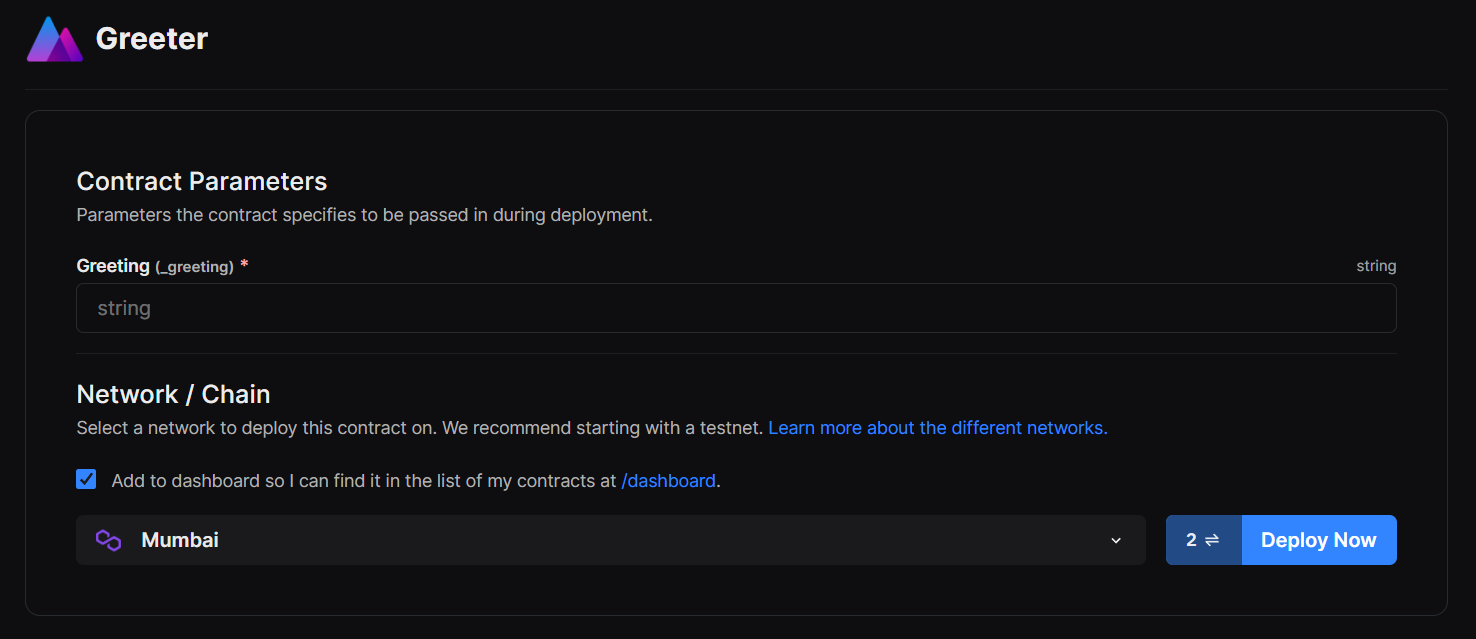
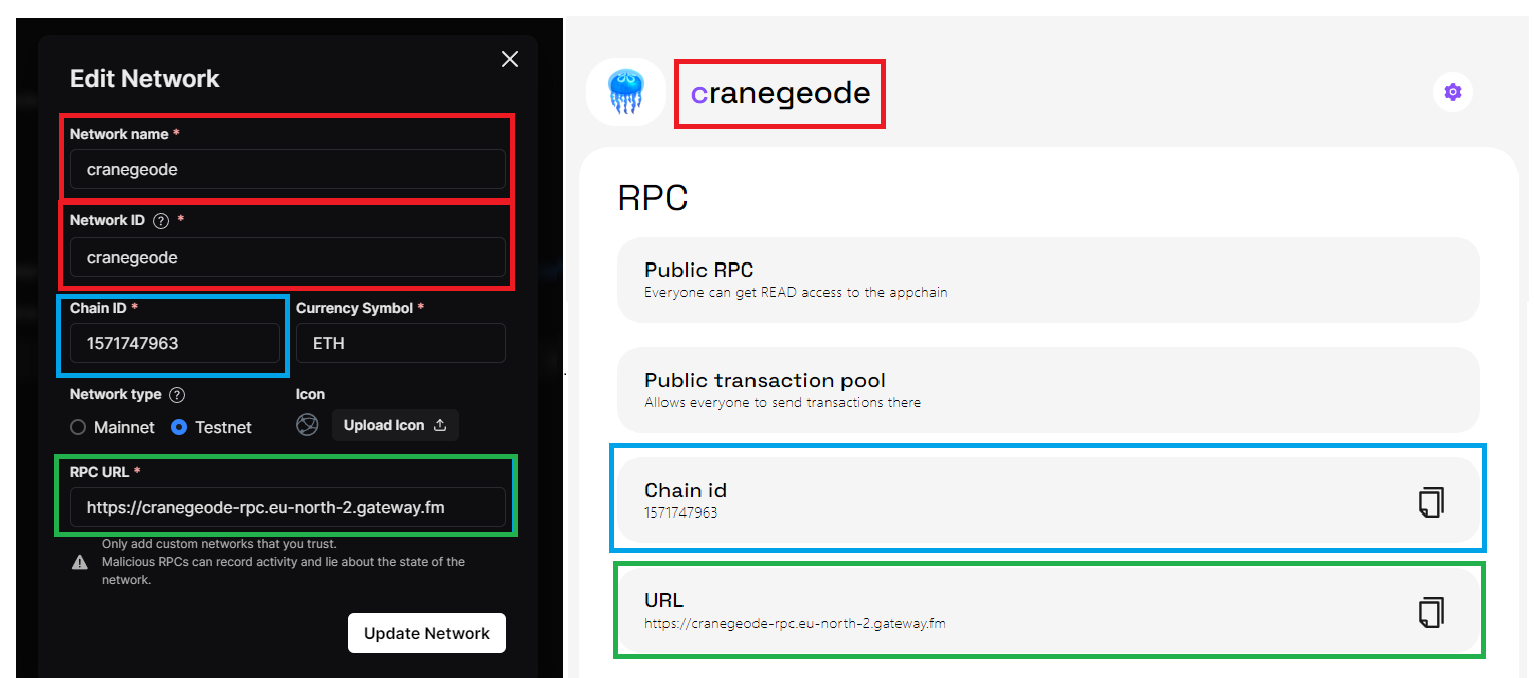
We need to change the chain we're deploying on to be the validium we just deployed. Click on the network name (e.g. Mumbai) to open up the network modal and click Add Custom Network:
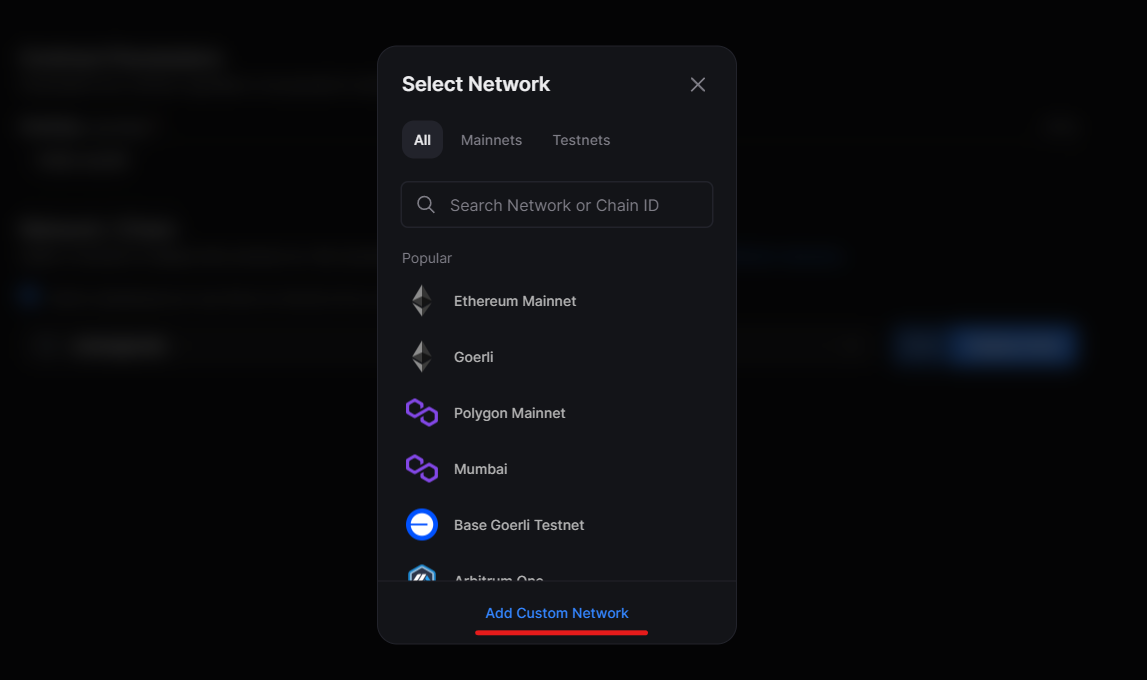
This will allow you to add your validium's network details into the thirdweb dashboard. Map up the chain ID, URL and network name to the corresponding fields. In the screenshot below, I've color-coded each field to help you out:
Ensure you set your custom network as the chain you'd like to deploy to, which will subsequently prompt your wallet to switch across to this network:

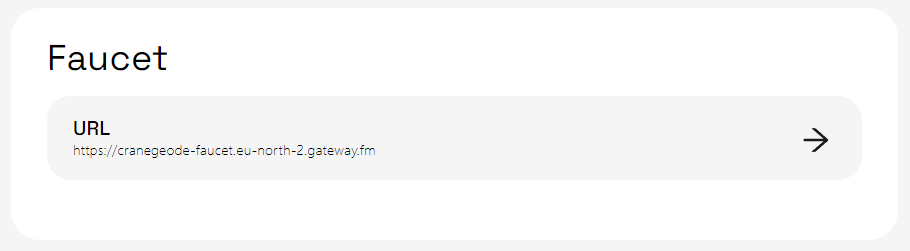
We'll also need some funds on our validium so we can cover the gas fees of deploying our smart contract. On the Presto dashboard, you should see a URL for a faucet, where you can send funds to test with to your wallet:
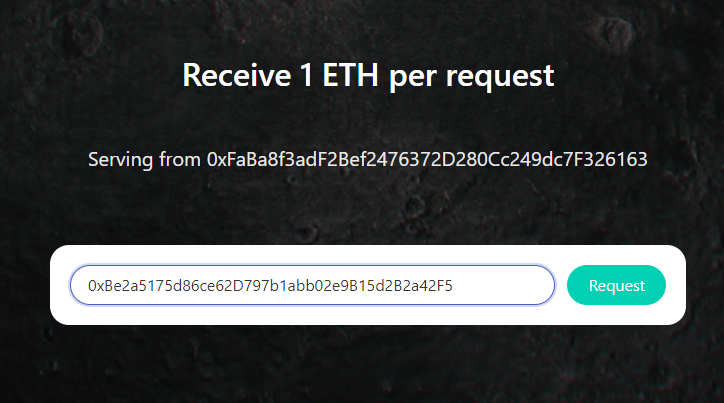
Open up the faucet website and paste your wallet address into the field like so:
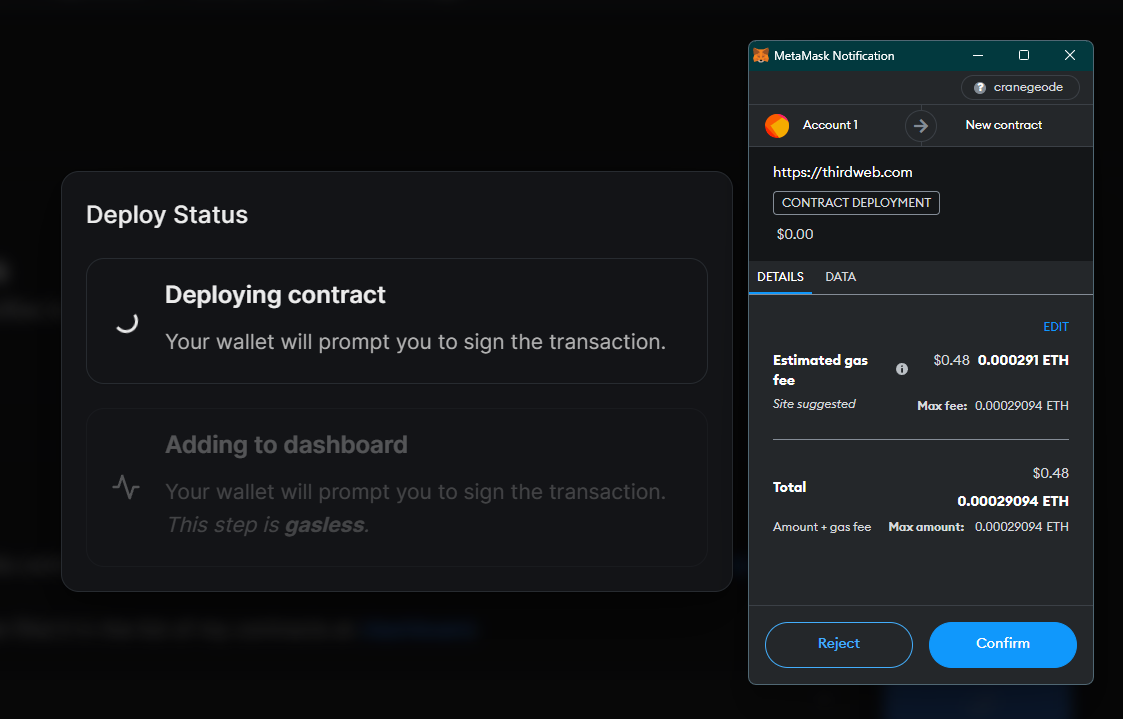
Finally, click Deploy Now on the thirdweb dashboard to deploy your smart contract:
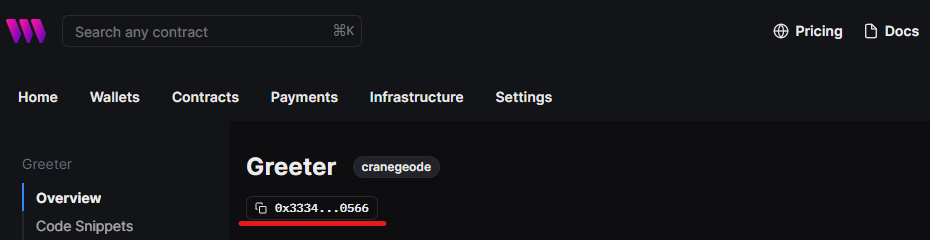
That's it! 🥳 We just shipped our smart contract! We can even use our own block explorer to confirm it. Go ahead and copy the address of our smart contract:
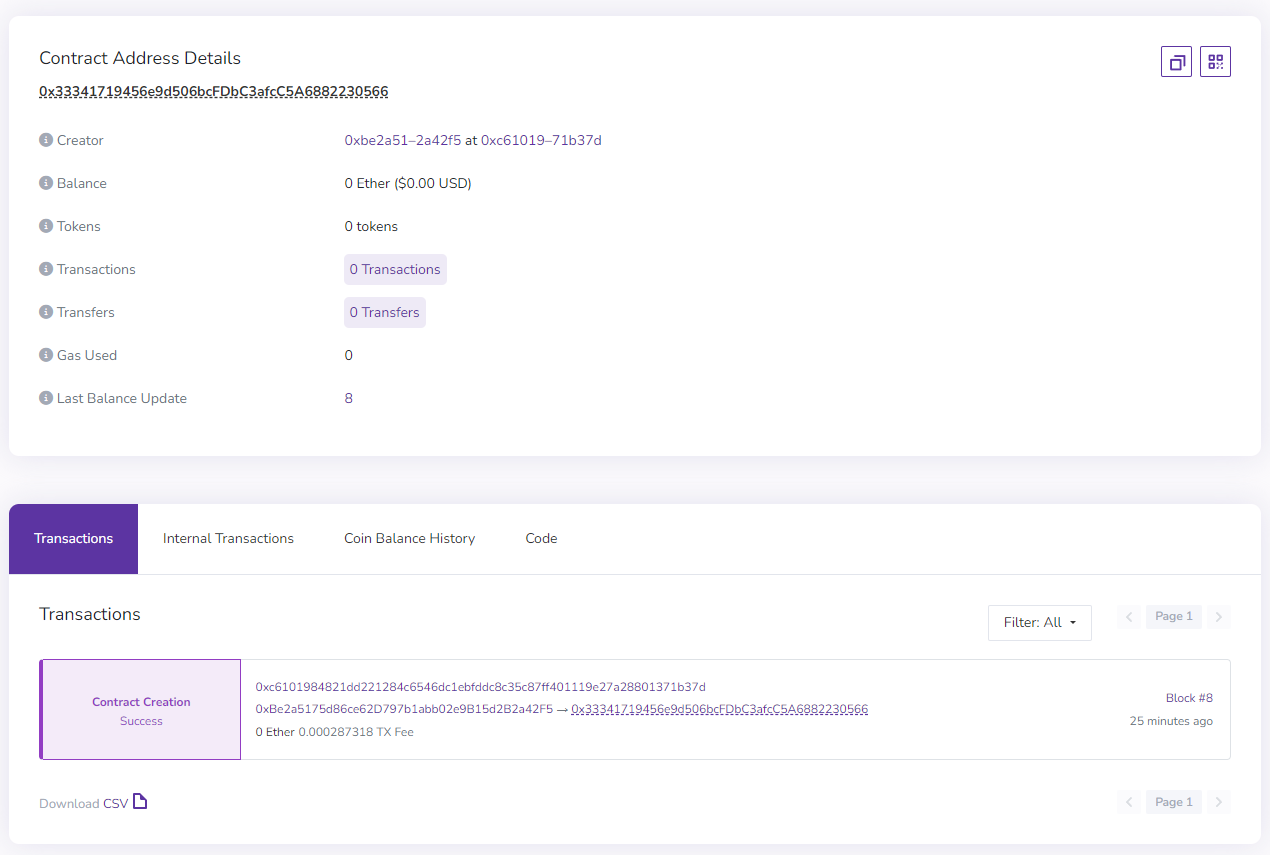
Open up the block explorer that was deployed for us from the Presto dashboard:

And we can indeed see our contract was deployed successfully! 🚢🎉
Creating a dApp on your Custom Chain
Now we've deployed our smart contract, let's see how we can create an application that interacts with the smart contract we just deployed.
You can use any tools you like to do this, but in this guide, we'll use the thirdweb React SDK to easily connect to our custom chain from a front-end environment.
To create a new application with the thirdweb React SDK pre-configured, run the following command, (from a new directory):
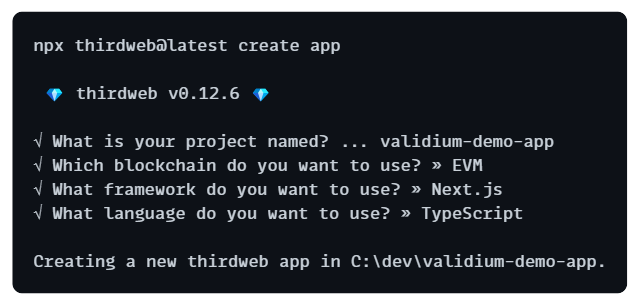
npx thirdweb@latest create app
This command allows you to interactively choose the frontend language and framework you prefer. Below are the options I selected for my app:
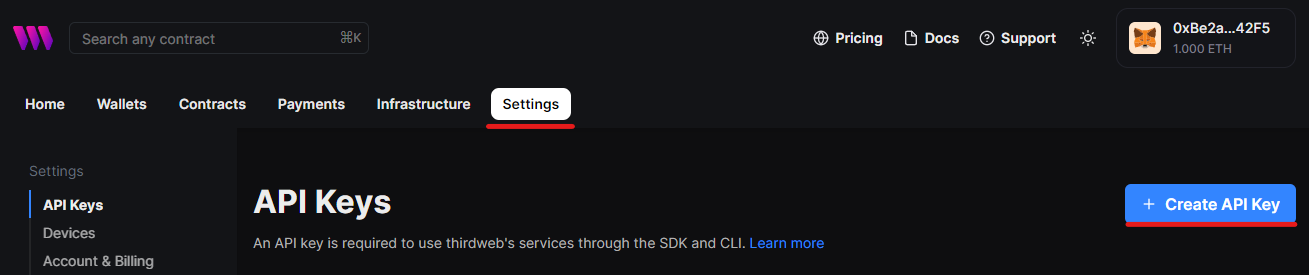
Setting Up the thirdweb API Key
To use thirdweb's RPC infrastructure, you'll need to get a thirdweb API key from the Settings tab of the thirdweb dashboard. Click Create API Key to get started (free):
In the root of your project, create a new environment variables file (.env.local) and add the following:
NEXT_PUBLIC_TEMPLATE_CLIENT_ID=your-api-key-client-id-here
Connect to your Custom Chain
Now we've got our API key set, we can connect to our custom chain via the RPC.
Inside the _app.tsx file, you can see the active chain is currently set to ethereum:
// This is the chain your dApp will work on.
const activeChain = "ethereum"; // <------- Let's change this!
We need to change this to be set to our own custom network details, which we can do by following the custom EVM chains section of the thirdweb docs. Let's change ethereum to a new object containing our network details, like so:
const activeChain = {
  // Chain id from Presto
  chainId: 1571747963,
  // RPC URL from Presto
  rpc: ["https://cranegeode-rpc.eu-north-2.gateway.fm"],
  // Name of your rollup in various forms that you want it to appear
  shortName: "cranegeode",
  slug: "cranegeode",
  chain: "cranegeode",
  name: "Crane Geode",
  // Testnet flag, set this to true!
  testnet: true,
  // Details of the token used for gas on your chain.
  nativeCurrency: {
    name: "Ether",
    symbol: "ETH",
    decimals: 18,
  },
  // Optional, the block explorer for wallets to view transactions.
  explorers: [
    {
      name: "blockscout",
      // Block Explorer, Explorer URL from Presto
      url: "https://cranegeode-blockscout.eu-north-2.gateway.fm/",
      standard: "EIP3091",
    },
  ],
};
Now our application can interact with smart contracts deployed to our custom chain!
Reading & Writing Data on the Smart Contract
Finally, we can demo interacting with the smart contract we deployed. On the homepage, (index.tsx), we can use the Web3Button component to:
Prompt users to connect their wallet
Prompt users to add & connect to our custom chain
Call a function on our smart contract from the user's wallet.
Below is some simple demo code to read and write data from the smart contract:
import { Web3Button, useContract, useContractRead } from "@thirdweb-dev/react";

// Your smart contract address (from the thirdweb dashboard)
const contractAddress = "0x33341719456e9d506bcFDbC3afcC5A6882230566";

const Home = () => {
  // Connect to your contract via the contract address
  const { contract } = useContract(contractAddress);
  // Read the current greeting on the smart contract
  const { data, isLoading } = useContractRead(contract, "greet");

  return (
    <>
      {isLoading ? ( <p>Loading...</p> ) : ( <h1>{data}</h1> )}

      <Web3Button
        contractAddress={contractAddress}
        action={(contract) =>contract.call("setGreeting", ["Hey!"])}
      >
        Set Greeting
      </Web3Button>
    </>
  );
};

export default Home;
Run npm run dev and visit localhost:3000 to preview your demo application:
Voilà! 💅You just built a full-stack application on your own layer 2 blockchain.
Wrapping Up
Polygon CDK allows anyone to launch their own L2 chain, powered by the industry-leading ZK technology of Polygon.
In this guide, we've walked through the process of:
Launching our own ZK-Validium L2 blockchain
Deploying a smart contract to our own custom chain
Building a dApp to interact with our custom chain smart contracts
You can access the full source code of this demo on GitHub, and follow me on Twitter for more content like this!