Create A Web3 App Store Using Polygon dApp Store Kit
A software engineer turned developer relations engineer in the web3 space, from Australia 🇦🇺.
In this guide, we'll cover how to use Polygon's dApp Store Kit to create a decentralized app store. We'll walk through the following topics:
What is Polygon dApp Store Kit?
Why was dApp Store Kit created?
How to create a web application built on top of the dApp Store Kit.
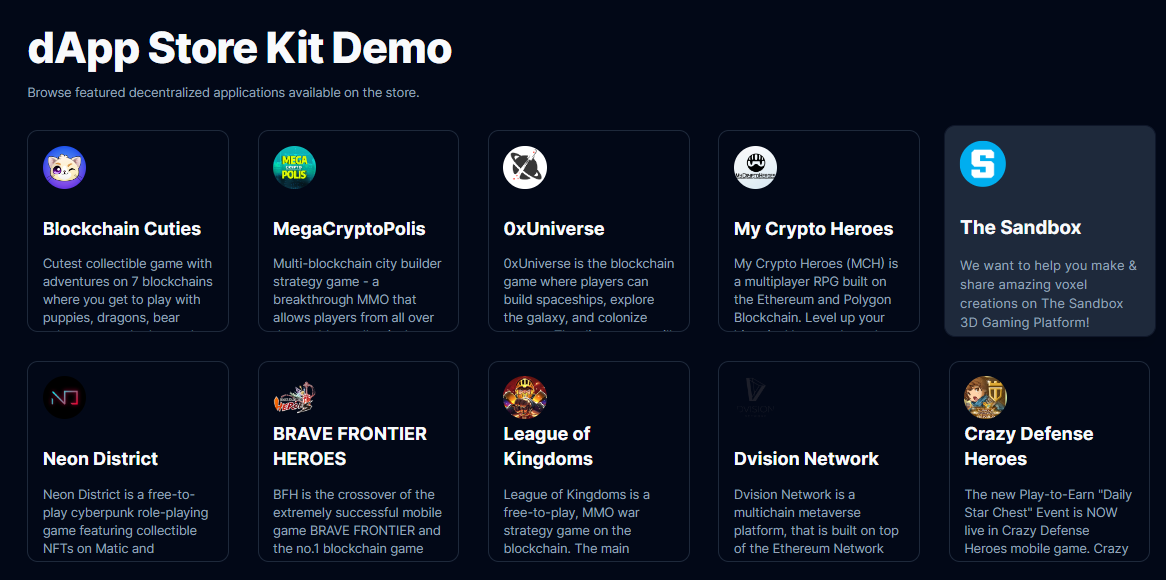
By the end of the guide, we'll create a fully customizable decentralized app store with our own rules (demo screenshot below). Let's do it!
What Is dApp Store Kit?
dApp Store Kit is an open-source development stack built by Polygon that uses Meroku under the hood; a decentralized app store protocol that acts as a registry for devs to create decentralized app stores on top of.
The registry comes with over 900 decentralized applications out of the box, meaning builders don't have to source and evaluate applications for their store but can instead filter and curate the ones within the registry.
Why dApp Store Kit?
Developers in web3 face a common challenge; it's difficult to have your dApp distributed and discovered by potential users/customers.
This is partially due to the restrictions that today's primary distribution channels have placed on blockchain-based applications and technology. Including:
Steam: Valve has placed a ban on selling blockchain-based games.
Apple: Purchases must be made through the in-app purchase system.
Although recent strides have been made in this space including Google Play Store announcing support for NFTs just last month (July 2023), distribution is a pain point for the web3 world.
Rather than release a centralized app store, Polygon created the dApp store kit as a protocol that allows anyone to freely create their own customized decentralized app stores that serve different purposes and have different incentives.
Creating A Decentralized App Store
To create our decentralized app store, we're going to use Next.js; a React framework for creating full-stack web applications, and the @merokudao/storekit-sdk package to use the Polygon dApp store kit.
To keep it short and sweet, I'll cut out the styles and fluff from this guide, but you can view the full source code for the project on GitHub linked below if you prefer.
Creating the Project
To get started, create a new Next.js project using the create-next-app CLI:
npx create-next-app@latest
Below are the options that I chose, however, you can customize these as you prefer:
√ What is your project named? ... dapp-store
√ Would you like to use TypeScript? ... No / Yes
√ Would you like to use ESLint? ... No / Yes
√ Would you like to use Tailwind CSS? ... No / Yes
√ Would you like to use `src/` directory? ... No / Yes
√ Would you like to use App Router? (recommended) ... No / Yes
√ Would you like to customize the default import alias? ... No / Yes
Next, change directories into your newly created project and install the dApp store kit npm package:
# First, change directories:
cd dapp-store

# Install the dApp store kit package
npm i @merokudao/storekit-sdk
Open the project in your text editor, run npm run dev and visit http://localhost:3000/ to preview your application.
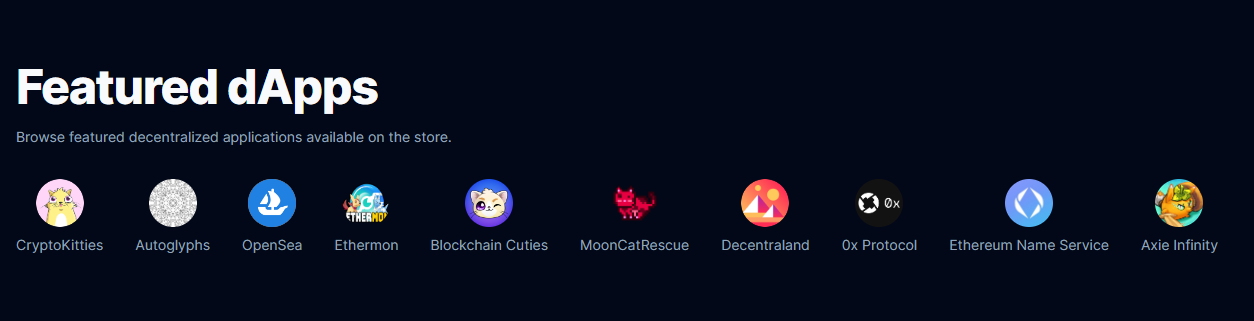
Getting Featured dApps
On our homepage, we're going to fetch the featured decentralized applications from the protocol and display them on the homepage. To do this, we'll:
Instantiate the
DAppRegistryApifrom the@merokudao/storekit-sdkpackage.Call the
getDAppV1method on theDAppRegistryApito get back an array of dApps.Iterate over the returned array to display each dApp on the UI.
Below is the code to achieve this:
import { useEffect, useState } from "react";
import { DAppRegistryApi, Dapp } from "@merokudao/storekit-sdk";

export default function Home() {
  // State to store the list of dApps
  const [dapps, setDapps] = useState<Dapp[]>();

  // useEffect to fetch the list of dApps and store them in the state
  useEffect(() => {
    (async () => {
      // Base URL for the mainnet API
      const baseURL = "https://api-a.meroku.store";

      // Instantiate the dApp Registry API
      const dAppRegistryAPI = new DAppRegistryApi({
        basePath: baseURL,
      });

      // Get the dApps list, and store it in the state
      const dAppsRequest = await dAppRegistryAPI.getDAppV1();
      const dApps = dAppsRequest.data.response;
      setDapps(dApps);
    })();
  }, []);

  // Display each dApp we stored in state
  return (
    <div>
      {dapps?.map((dapp) => (
        <div key={dapp.dappId}>
          <img src={dapp.images?.logo?.toString() || ""} alt={dapp.name} />
          <p>{dapp.name}</p>
        </div>
      ))}
    </div>
  );
}
With some added styles and some decoration, here's the application so far:
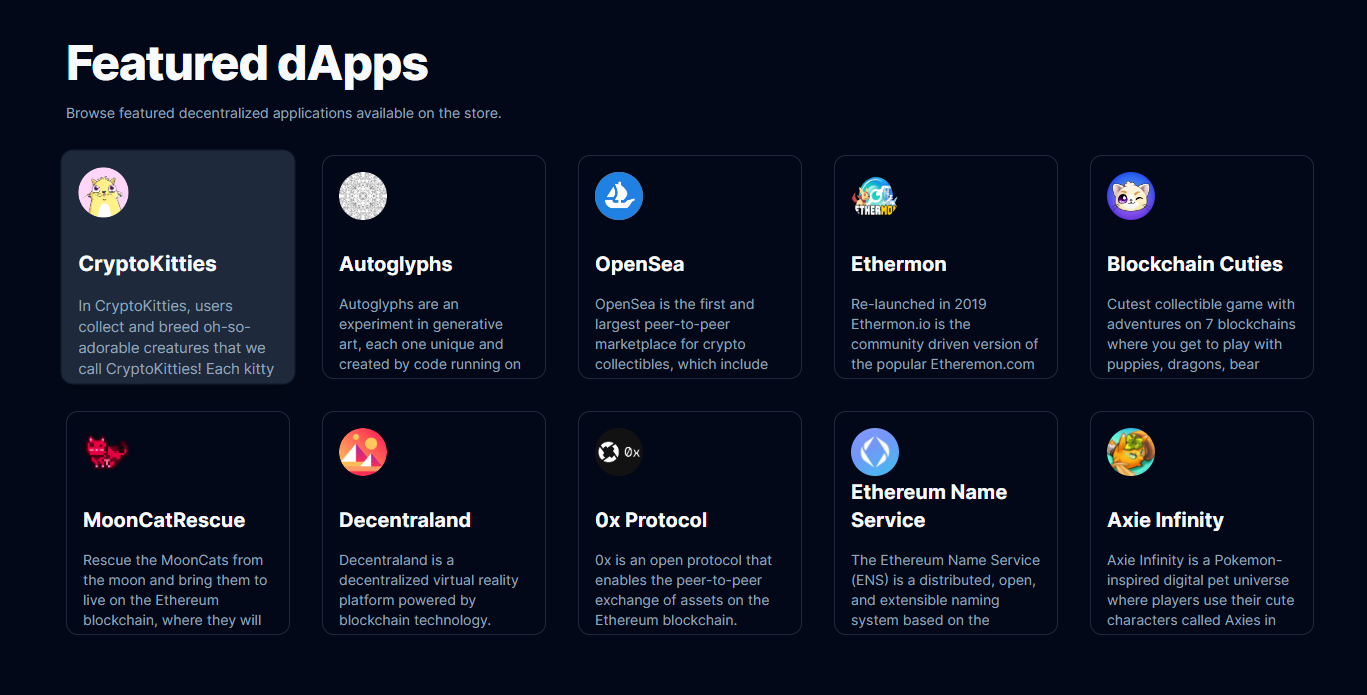
Each dApp returned from the method includes properties such as name, categories, description, images, appUrl, chains, and more. Using each of these properties, you can create fully customizable interfaces for your app store, such as mine below.
(You can copy the source code for this screenshot from the GitHub repo).
The getDAppV1 method also comes with a large number of parameters that allow you to customize what dApps you want to serve in your application:
getDAppV1(
   page?: number,
   limit?: number,
   search?: string,
   isListed?: boolean,
   chainId?: number,
   language?: string,
   availableOnPlatform?: Array<string>,
   matureForAudience?: boolean,
   minAge?: number,
   listedOnOrAfter?: string,
   listedOnOrBefore?: string,
   allowedInCountries?: Array<string>,
   blockedInCountries?: Array<string>,
   categories?: Array<Array<string>>,
   orderBy?: string,
   subCategory?: Array<Array<string>>,
   options?: AxiosRequestConfig
): Promise<AxiosResponse<InlineResponse200>>;
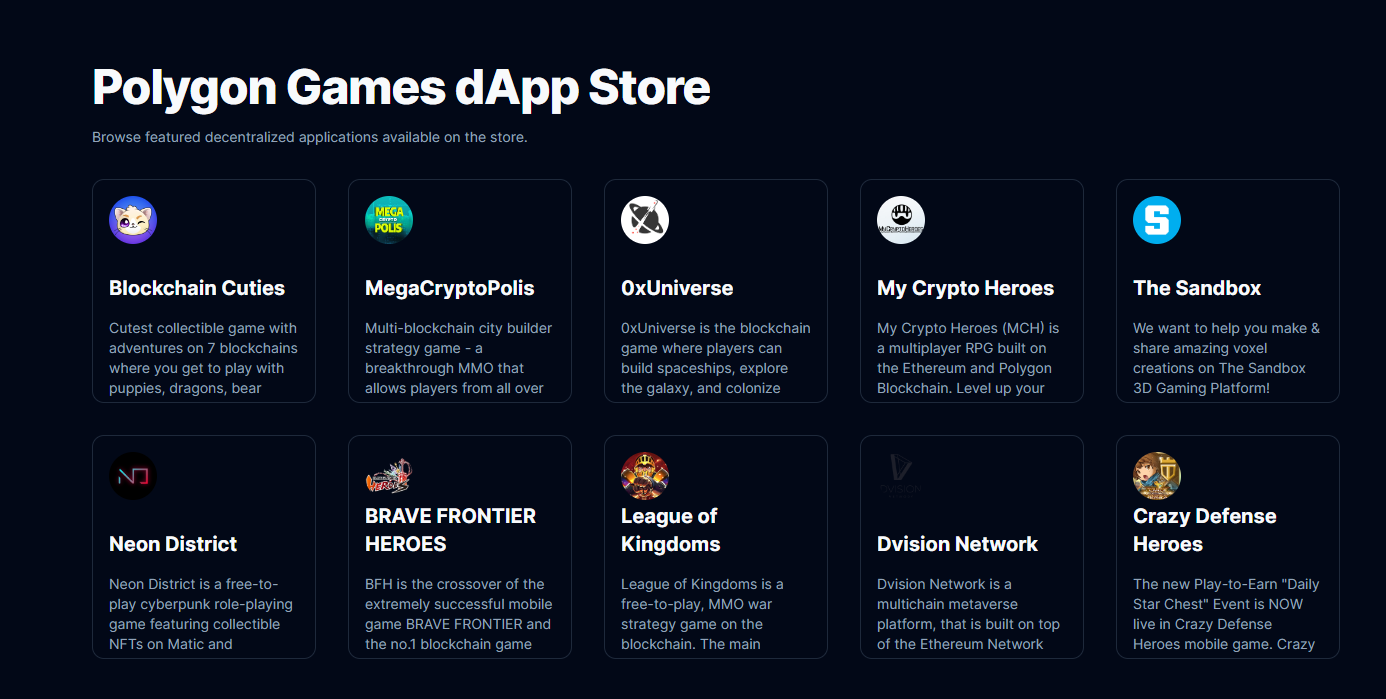
For example, if we want to limit what dApps we fetch to only show games only built on the Polygon chain, we could add the games filter to the categories parameter and 137 as the chain ID like so:
// Get the dApps list, and store it in the state
const dAppsRequest = await dAppRegistryAPI.getDAppV1(
  1, // page
  10, // page size
  undefined, // search term
  true, // is dapp listed
  137, // Polygon chain ID
  undefined, // language
  undefined, // availableOnPlatform
  undefined, // matureForAudience
  undefined, // minAge
  undefined, // listedOnOrAfter
  undefined, // listedOnOrBefore
  undefined, // allowedInCountries
  undefined, // blockedInCountries
  [["games"]] // categories
);
This changes what dApps come back from the registry allowing us to fully customize our app store experience, for example, we now have a Polygon games store:
Let's convert each of these into a Link that points to the /dapps/[id] dynamic route so that when the user clicks on each dApp it takes them to the page for that dApp:
{dapps?.map((dapp) => (
  <Link href={`/dapps/${dapp.dappId}`} key={dapp.dappId}>
    ...
  </Link>
))}
Creating Individual dApp Pages
Create a new dynamic route using Next.js by creating a new file at /pages/dapps/[dappId].tsx that renders each dApp in more detail.
Using a similar pattern as previously, we can call the apiV1DappSearchDappIdGet method on the DAppRegistryApi class to fetch a specific dApp using its ID, and render it on the UI. Below is a basic example:
import { DAppRegistryApi, Dapp } from "@merokudao/storekit-sdk";
import { useRouter } from "next/router";
import React, { useEffect, useState } from "react";

export default function DappPage() {
  // Get the dApp ID from the URL using Next router.
  const router = useRouter();
  const { dappId } = router.query;

  const [dapp, setDapp] = useState<Dapp>();

  // useEffect to fetch the list of dApps and store them in the state
  useEffect(() => {
    (async () => {
      if (!dappId) return;

      // Base URL for the mainnet API
      const baseURL = "https://api-a.meroku.store";

      // Instantiate the dApp Registry API
      const dAppRegistryAPI = new DAppRegistryApi({
        basePath: baseURL,
      });

      // Get dApp info by ID
      const response = await dAppRegistryAPI.apiV1DappSearchDappIdGet(
        dappId as string
      );

      // Get the dApp out of the response
      const result = response?.data?.data?.[0];

      // Store the dApp in the state
      setDapp(result);
    })();
  }, [dappId]);

  // Render dApp information
  return (
    <main className="container flex flex-col align-middle w-full min-h-screen py-2 pt-20">
      <h1>{dapp?.name}</h1>
      <p>{dapp?.description}</p>
    </main>
  );
}
Utilizing the metadata available and adding some styles, we can create an elegant page for each individual dApp like so (source code):

That's it! We've created a discovery page and a detail page where users can find out more information and the URL to each app we curated on the home page.
Wrapping Up
In this guide, we've covered the basics of understanding and getting started with Polygon's dApp store kit. Below, you'll find further resources to help you dive deeper into creating your own projects: