Build A Web3 Social Media App Using Lens & React Native

A software engineer turned developer relations engineer in the web3 space, from Australia 🇦🇺.
In this guide, I'll show you how to create a basic web3 social media app using Lens Protocol and Expo; a platform for building cross-platform apps.
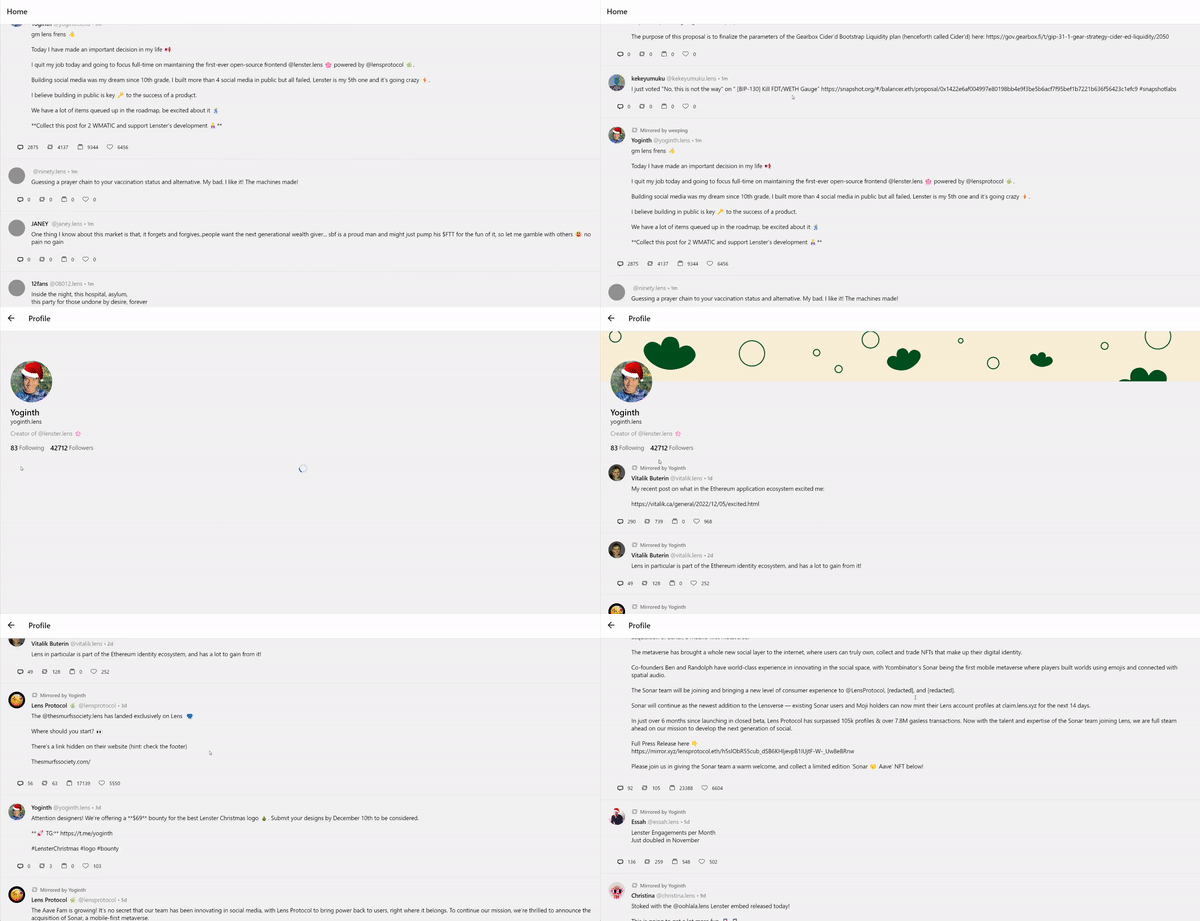
By the end, you'll have a cross-platform app that looks like this:
Let's get started! 🤠
Create A React Native App
We'll be using Expo, a platform for making mobile applications written in React Native to build our application.
Create a Project with the Expo CLI
To get started, first, install the Expo CLI globally:
npm install --global expo-cli
Then, run the command below to create a new React Native project:
npx create-expo-app lens-react-native
Change directories into the newly created project and open it up in your text editor!
cd lens-react-native # Change directories into your newly created project
code . # Open your project in Visual Studio Code
Optional: Add Web Support
If you want to preview your application on your browser rather than your phone during development, run the command below:
npx expo install react-native-web@~0.18.9 react-dom@18.1.0 @expo/webpack-config@^0.17.2
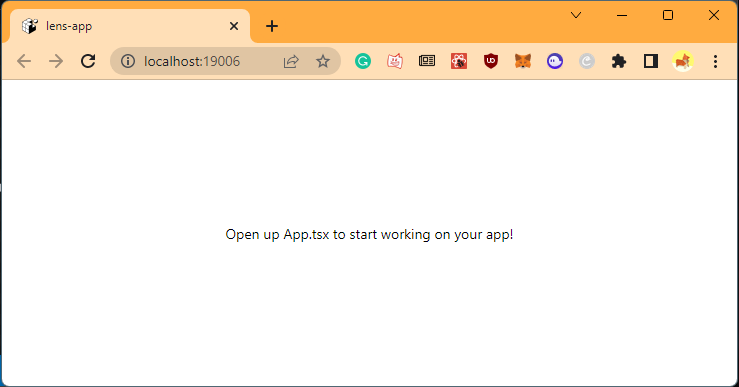
This allows us to run npm run web to preview our application on localhost like so:
Setting Up Lens Protocol
We'll use the React Native Lens UI Kit to integrate decentralized social media functionality into our app. The Lens UI Kit is a set of pre-made components that allow you to read data from the blockchain within a React Native app.
Install the UI Kit by running the following command:
npm install @lens-protocol/react-native-lens-ui-kit
I'll show you how to add a feed and a profile page, however, you can explore all of the components available in the README file if you wish to explore further!
Adding Navigation
To allow navigation between pages, we'll install two more packages in our project:
npm i @react-navigation/native @react-navigation/native-stack
In your App.js file, create a NavigationContainer containing a Native Stack Navigator with two screens; one for our home page and one for a user's profile:
import { NavigationContainer } from "@react-navigation/native";
import { createNativeStackNavigator } from "@react-navigation/native-stack";

import Feed from "./Feed";
import Profile from "./Profile";

const Stack = createNativeStackNavigator();

export default function App() {
  return (
    <NavigationContainer>
      <Stack.Navigator>
        <Stack.Screen name="Home" component={Feed} />
        <Stack.Screen name="Profile" component={Profile} />
      </Stack.Navigator>
    </NavigationContainer>
  );
}
Feed Page
Create a new file at the root of your project called Feed.js.
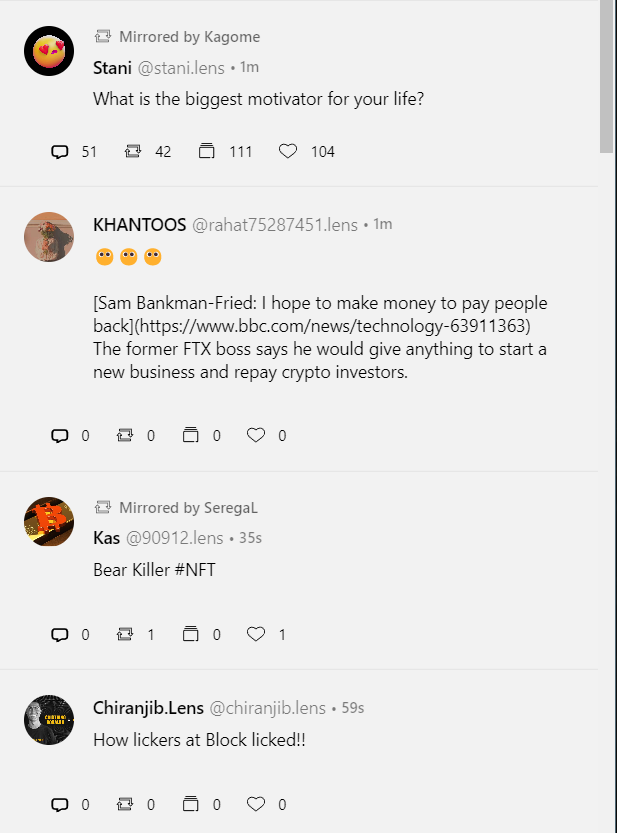
We'll use the Feed component provided by the Lens UI Kit to show a feed of the latest posts on Lens:
import { Feed } from "@lens-protocol/react-native-lens-ui-kit";

export default function FeedPage({ navigation }) {
  return (
    <Feed
      onProfileImagePress={(press) =>
        navigation.navigate("Profile", { profile: press.profile })
      }
    />
  );
}
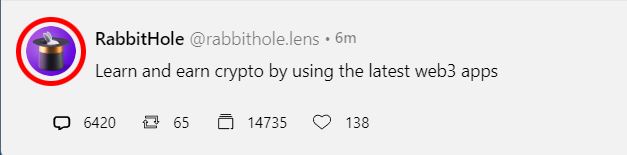
Here, we provide the onProfileImagePress prop, which navigates the user to the Profile page when they click one of the user's profile pictures on a post (example circled below).
This component creates a chronological order of posts for us like so:
Profile Page
Using the onProfileImagePress prop, we navigate the user to that user's profile page.
Create another new file at the root of your project called Profile.js and populate it with the following code:
import { Profile } from "@lens-protocol/react-native-lens-ui-kit";

export default function ProfilePage({ route }) {
  return <Profile profile={route.params.profile} />;
}
Here, we use the Profile component provided by Lens to render a feed of posts made by that user as well as their profile information:

Demo
Run your application using one of the following commands to get a preview:
npm run web # Open in your browser
npm run ios # Open on your iPhone
npm run android # Open on your Android phone
Final Thoughts
The React Native Lens UI Kit is an incredible way to get started building social media apps on top of the Lens Protocol.
Currently, the kit is in an alpha release, meaning there are a lot of new features to come, outlined in their beta roadmap, such as:
Authentication (signing in with Lens)
Custom styling and components
Support for GIFs and videos
Most importantly 😉 TypeScript support is coming in their V1 release! 🎉